


In this blog post, we will dive into the world of Azure CLI and create a web application. But that's not all—we'll take it a step further with the creation of deployment slots for our Web Application within the Azure App Service.
Join me as we unlock the power of Azure CLI and help you build and manage your web applications with ease and efficiency.
Prerequisite
a) Install Azure CLI on your desktop
b)Create your Web Application Repository in your GitHub account.
c) Create a directory to house your file. See my blog on how I created an index file in Gitbash and pushed it to GitHub
Let's dive in and get started!
Log In To Your Azure Account
a) Open Powershell terminal on your desktop to begin.
b) To login to your Azure account, type the command az login and press the Enter button on your desktop
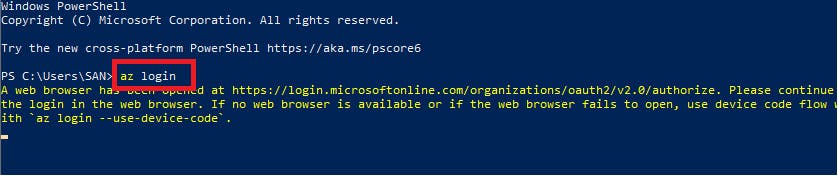
c) You will be redirected to a web browser to sign in to your Azure account.
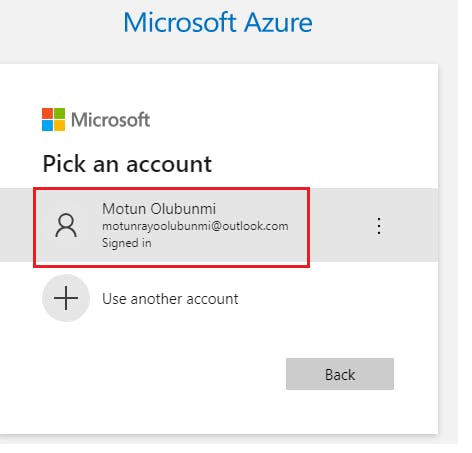
d) Click on your account
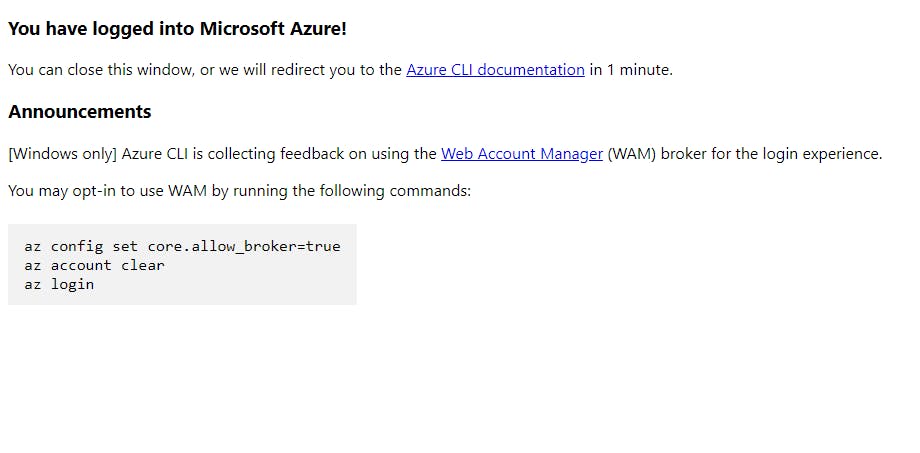
e) You will get the below notification, close the browser page and go back to the terminal.
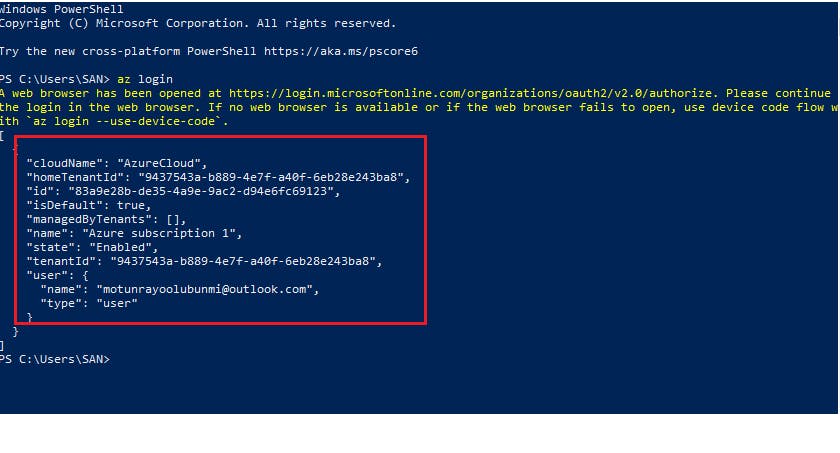
f) The command below shows you are logged in to your Azure account.
Create Your Resource Group
a) The next step is to create your resource group that will accommodate your Web App and your App Service Plan.
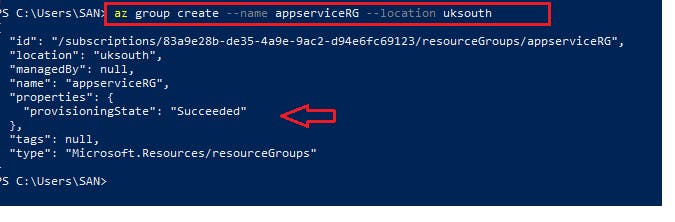
b) Input the command ;
az group create --name (name your resource) --location (input the location you want your resource to be).
c) Ensure to leave a space after each word.
d) Once you've inputted the command, Press enter.
Create Your App Service Plan
The next step is to create your App service plan, which can be termed an operating system that hosts your web application. It provides the infrastructure and resources needed to run and scale your apps
Input the command; az appservice plan create --name <name your plan> --resource-group <name of your resource group> and press enter on your desktop

Create Your Web Application
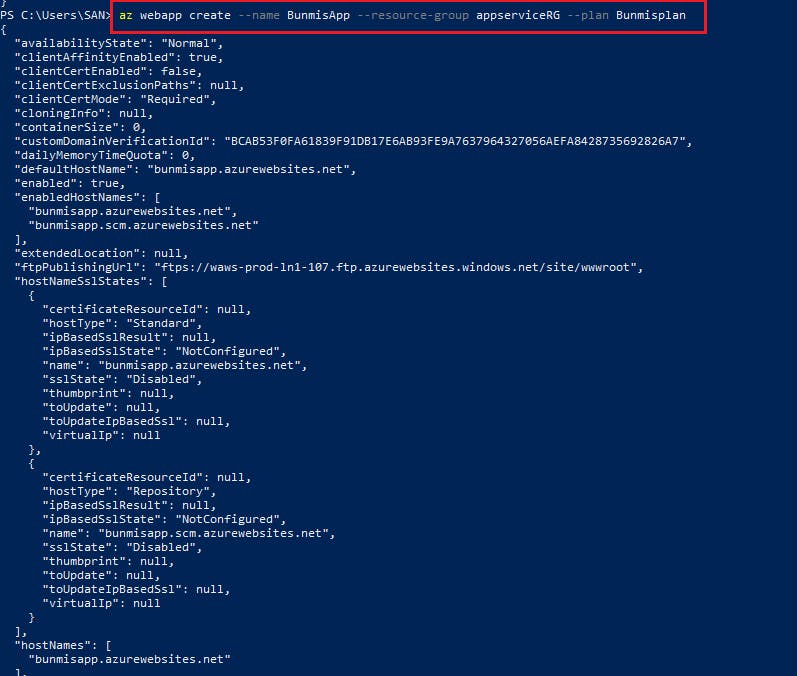
a) Once the App service plan has been created successfully, the next command to input is to create our web application itself.
b) Input the command;
az webapp create --name <name your web app> --resource-group <resource group name> --plan <name of your plan>
Copy the HTTPS URL of Your Web App Repository in GitHub
Before you proceed at this stage, ensure you have created a repository and an index file for your web application. To do this, see my blog on How to create an index file on git bash and push it to Git Hub
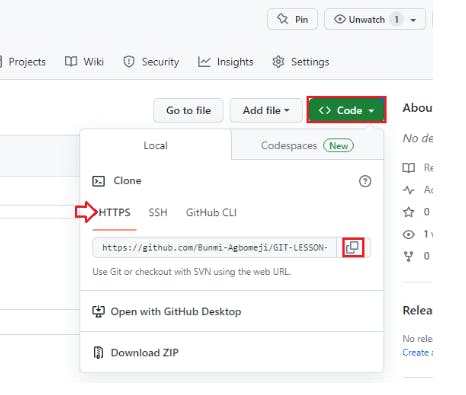
a)To copy the URL of your repository, Go to your GitHub account.
b)Navigate to the right on your Web App repository page and right-click on the green Code button. Copy the HTTPS link as shown below
Configure The Deployment Source of Your Web Application
Now that we've successfully copied your Web App Repository URL, the next step is to configure the deployment source of our web app.
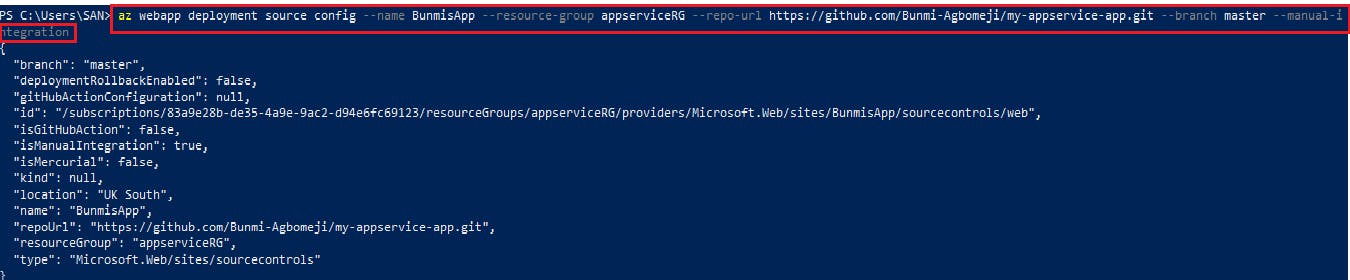
a) Input the following command and press enter;
az webapp deployment source config --name <name of your web app> --resource-group <name of your resource group> --repo-url <the HTTPS URL of the web app repo that contains your index file> --branch master --manual-integration
b) From the information generated below, we can see that our deployment was successful.
c) To view our Web App, navigate to the App Services on the Azure portal, there you have your Web App. Click on your App to see the overview

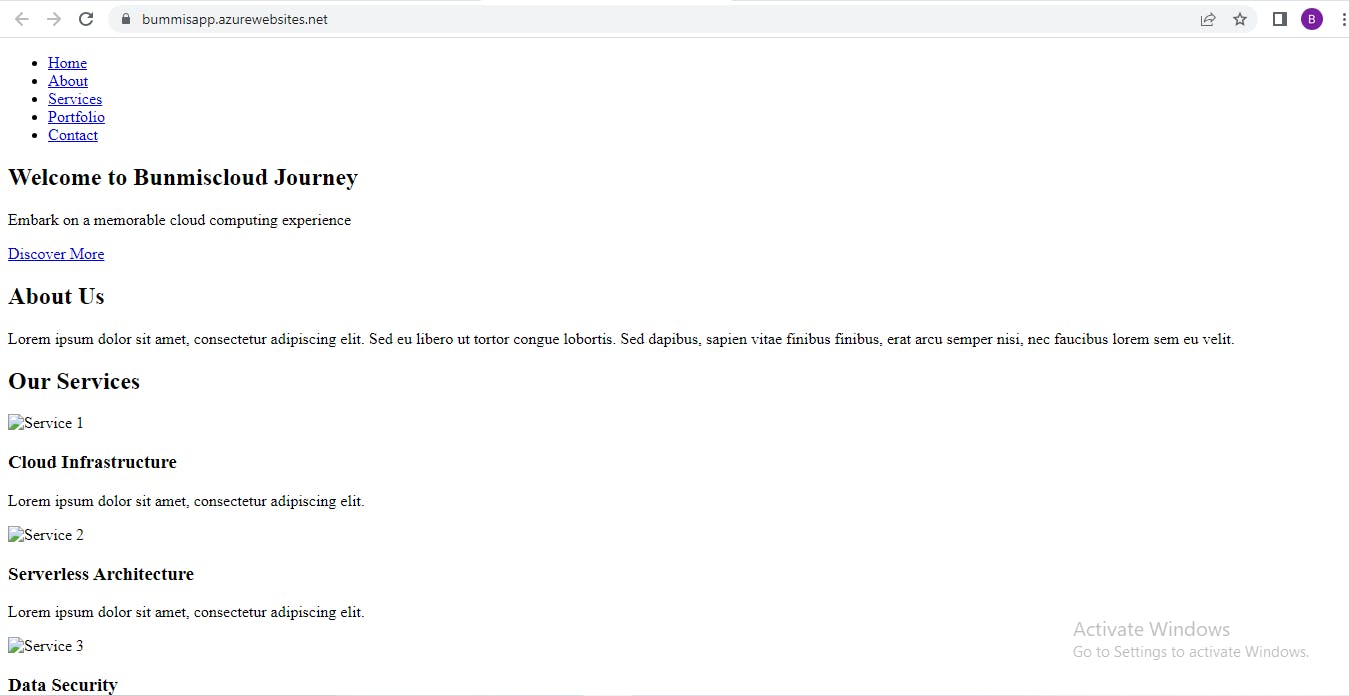
d) Click on the default domain link to view your domain

e) There you have your default domain reflecting your html.index file
f) To view our Deployment, click on the "Deployment Center"
g) From the image capture below, we can see our source as Git, we can also see the link to our repository and the branch our file is.
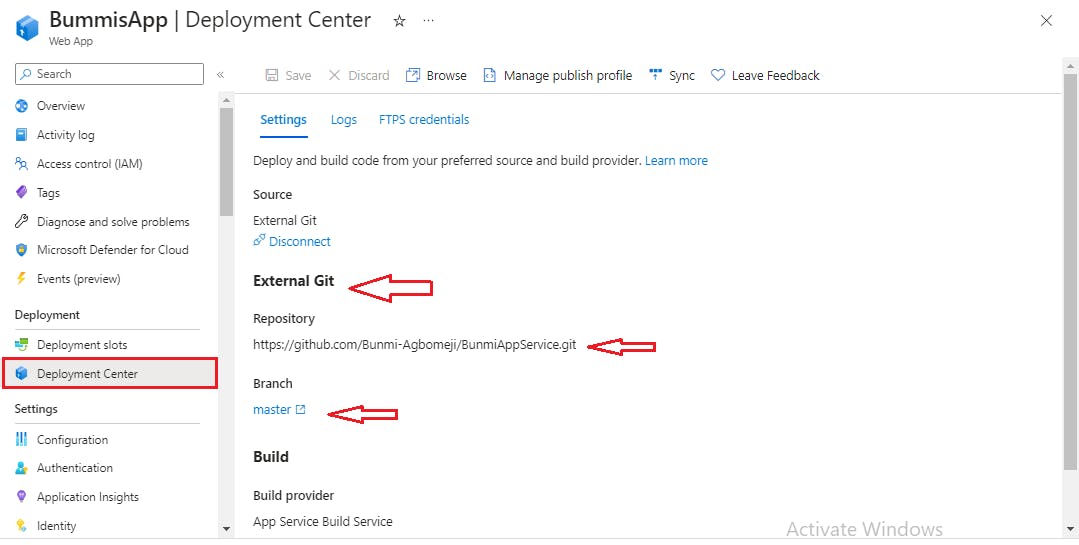
h) You can also view your commit message on the Logs

How To Create a Deployment Slot
A deployment slot is like a separate version of your web App that you can use to test and make changes before deploying them to your production environment.
Imagine you have a website that is already up and running, and you want to make some updates or add new features. Instead of making those changes directly to your live website, which could potentially cause issues or downtime for your users, you can create a deployment slot.
a) To create a deployment slot, go to your Web App page and scroll down to the left. Click on the deployment slot.
b) On the deployment slot page, we can see that our web app is in the production state running. The traffic is also 100%
c) To add a slot, click on +add slot at the middle-top of the page

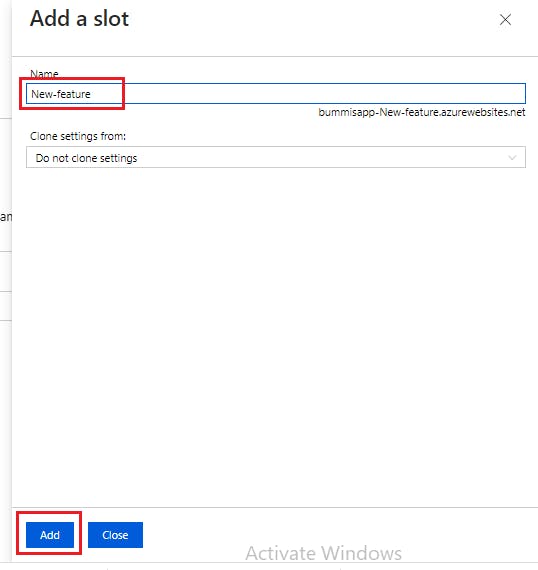
d) Give your slot a name and click on the "Add" button.
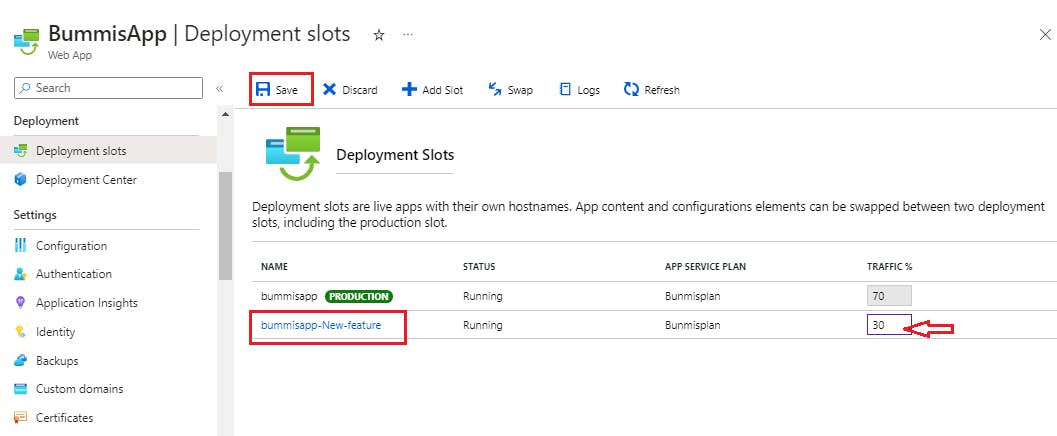
e) Input the percentage of traffic you want to give your deployment slot, then click on the "Save" button
f) To have an overview of your deployment slot, click on it.
g) You can see the slot has its environment where you can make updates to the website App without disrupting the production/live environment.

h) In a real-life scenario, after testing the new update to the web App and the new update was well received,
i) You can go ahead and click on the Swap button to add the traffic back to the production

j) Once the swap page opens, click on the swap button to swap
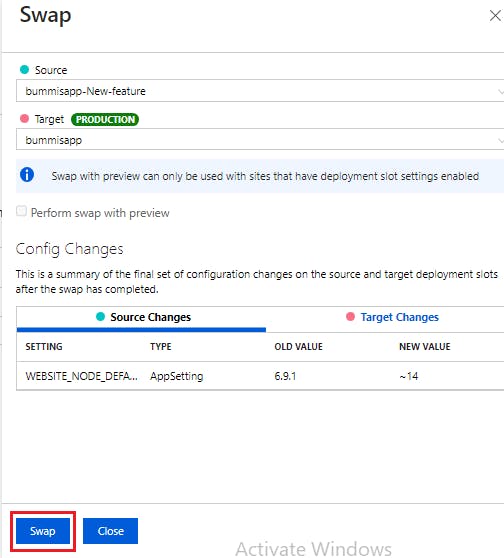
k) And there you have it, our web App has been updated without tampering with the production environment.
