How to Create an Index File in GitBash and Push it to GitHub

I am a Cloud Developer documenting my cloud journey one day at a time.
In this interesting guide, I'll take you on a step-by-step journey to master the art of creating index files using GitBash – a command-line interface. I'll also walk you through the process of pushing your index files to GitHub, the world's largest community of developers. With these essential skills at your fingertips, you'll enjoy the true potential of Git and seamless collaboration, all while keeping your projects in perfect sync.
Before we begin, ensure you have installed git bash on your desktop. Also, you have created a GitHub account. Let's dive in to get started.
Configure Your Local Environment
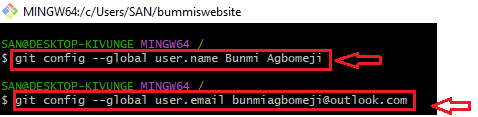
To configure your environment, that is to ensure you are logged into your github account,
a) input the command git config --global user.name <username>, press enter
b) Input git config --global user.email <your email> press enter
Create Your Folder/Directory
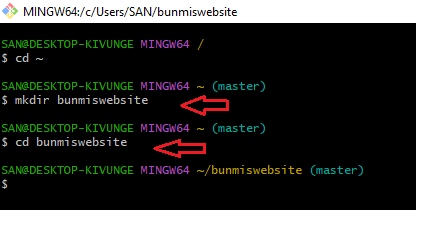
a)To create your directory input the command mkdir, leave a space and give it a name. mkdir which means make a directory. "mkdir bunmiswebsite"
b) Input the command "cd (your directory)" and press enter to open your directory
d) Input the command "git init" and press enter. The command initializes a new Git repository in the current working directory. Just like a subdirectory named "git"

Create Your File And Input Your Code
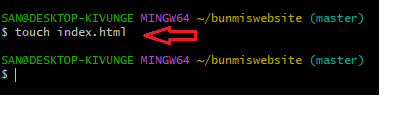
a)To create a new empty Text file named index.html, input the command "touch index.html" and press enter.
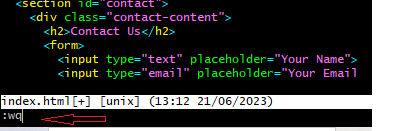
b) To input code in the empty file, input the command vi <file name>
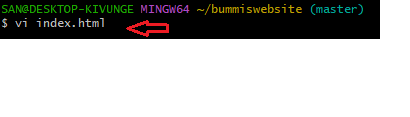
c)A blank space will appear, Click on the letter "i" on your keyboard to edit the file. Right-click and click on paste, to input your code.


d)To continue with your commands, press the esc button on your desktop.
e)To close the index.html file input :wq and press enter.
f) To view your code, input the command cat <file name>

g) At this stage, if you do not have a repository to house this folder and file, let's quickly create one by going to our GitHub account.
Create And Clone Your Repository
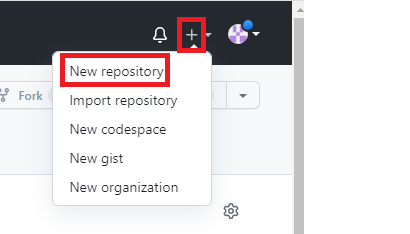
a)To create a new repository, log in to your git account, on the upper-left corner of your page click on the + sign and select "New repository"
b) Give your repo a name, ensure its public, and tick the "Add a ReadME file" box

c) Click on Create a repository

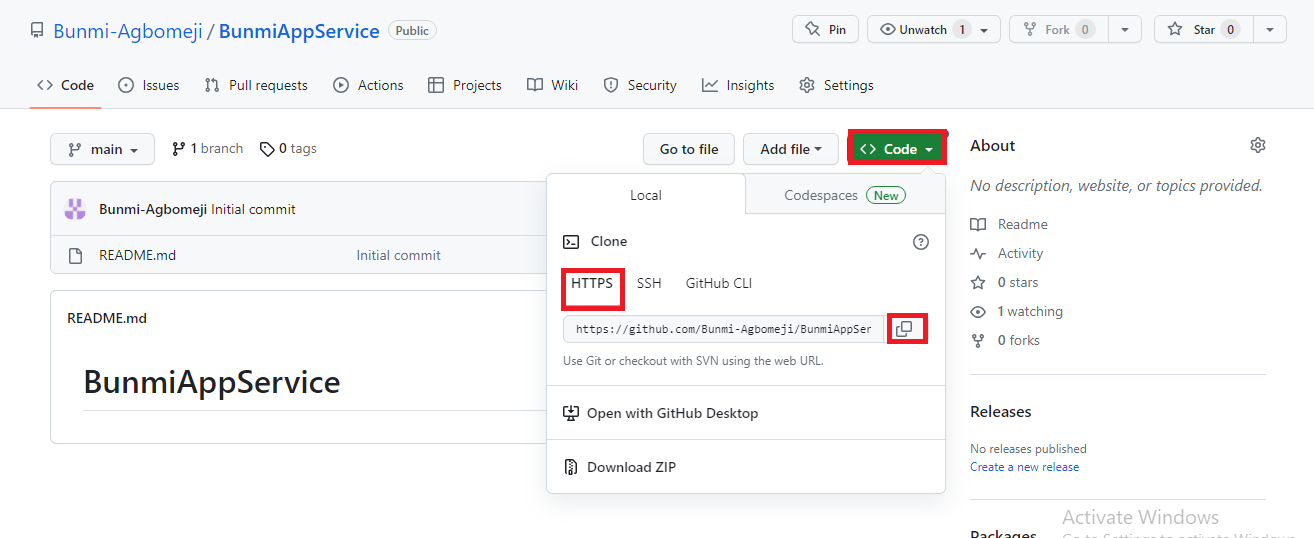
d) On your repository page, click on "Code", and ensure the link you are to copy is HTTPS. Copy the link by clicking on the copy sign and go back to your git bash
e) Now that we've created our repo and copied the HTTPS URL, let's go back to our Git bash to continue.
Push To Github
a) To add a remote repository named "origin" with a specified link to your Git repository, you can use the "git remote add origin" command followed by the remote name ("origin") and the URL of the remote repository.
git remote add origin <remote_repository_url>

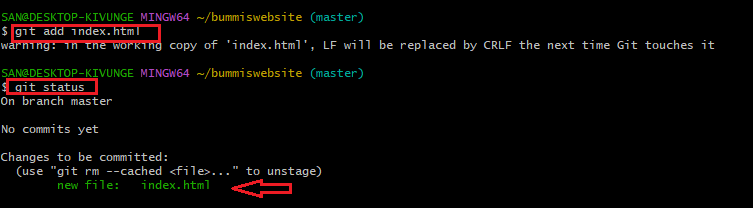
b) To add the file input "git add index.html" and enter
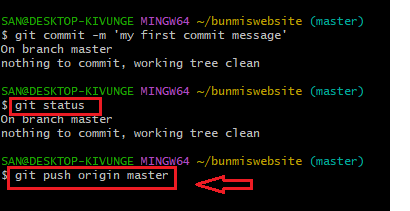
c) To check if the file has been added, type "git status". From the information provided, we can see that the new file has been added and can be tracked.
d) To create a new commit in your Git repository with a commit message, input the command git commit -m <the message>

e) You can check the status by inputting the "git status" command
f) The next stage is to input the command git push origin master and press enter
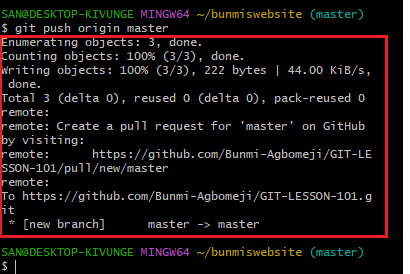
This command pushes the commits from your local "master" branch to the remote repository specified by the remote name "origin".
g) After executing the push command, Git will upload your local commits to the GitHub repository in your master branch as shown in the generated command
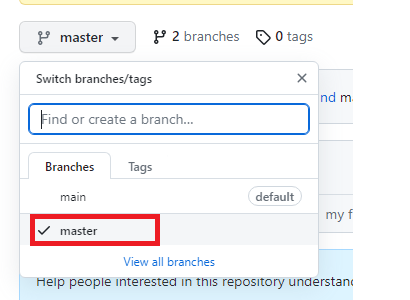
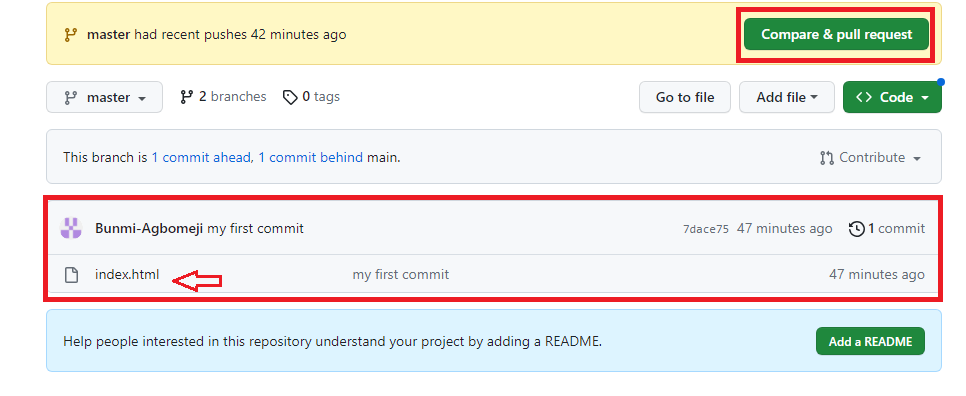
h) If you go back to your repository, on the code page, you would notice that the default branch is main.
i) To view your index.html file, click on branch and select the master branch.
j) Give it a description
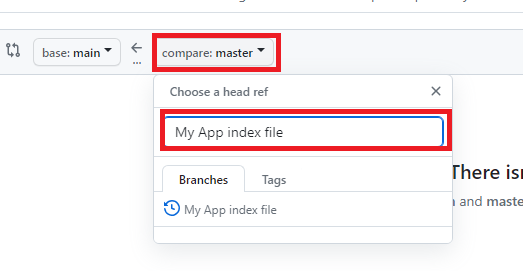
k) From the capture below, you can see that our index file and our commit message reflect here.
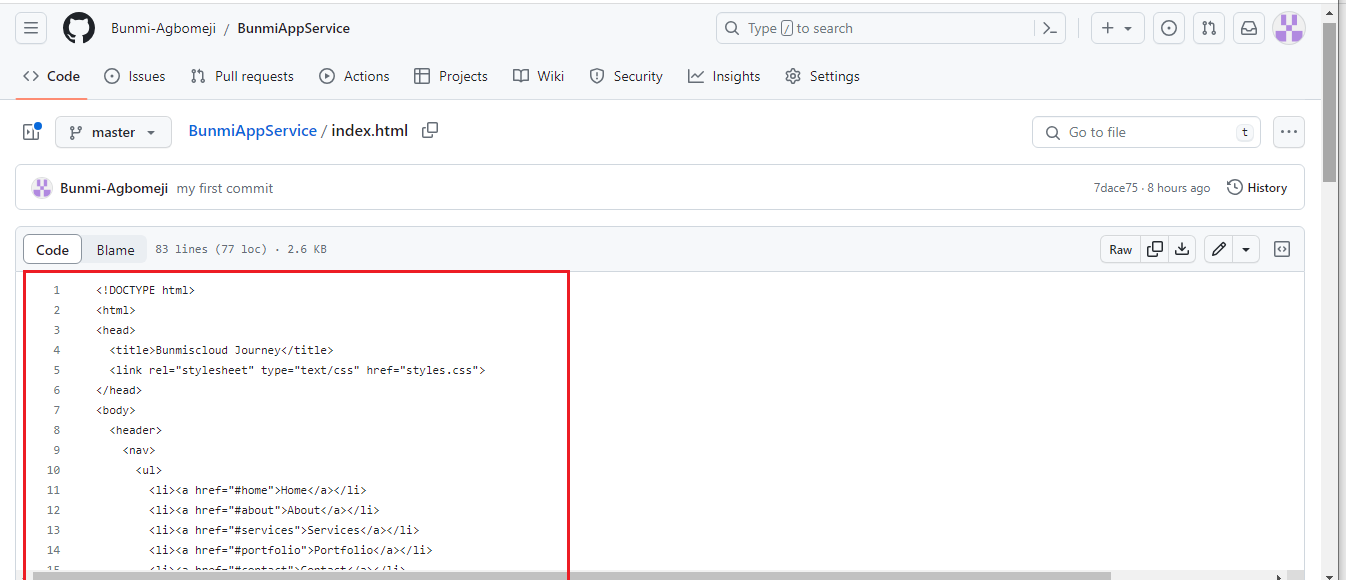
l) To view the content of your file, click on the index.html file.
m) The content of the file can be seen as annotated in the capture below.
I hope this blog post helped you understand how to Create an Index File in GitBash and Push it to GitHub. Thank you.


