

Introduction
When it comes to deploying and managing infrastructure in the cloud, Azure offers a tool called custom templates. These templates act as blueprints, enabling you to define and automate the creation of your Azure resources.
Deploying resources such as virtual machines and databases in Azure can be quickened when leveraging custom templates. In this blog post, we will explore how custom templates in Azure Resource Manager (ARM) can simplify the deployment of a Linux virtual machine.
Azure Resource Manager (ARM) can be described as a construction manager that takes your blueprint and builds the digital infrastructure according to the information provided in the custom template. Once your custom template is ready, you can use Azure Resource Manager (ARM) to deploy it.
Common Templates
Azure has created common templates users can choose from, thereby saving time and effort in manually creating and configuring Azure resources such as a virtual machine, web App, SQL database and Azure Landing Zone as shown below.

Let's take a quick look at what a template source is.
Template Source
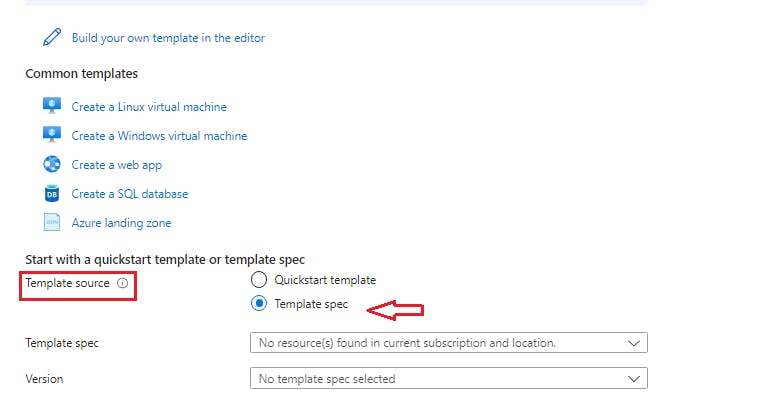
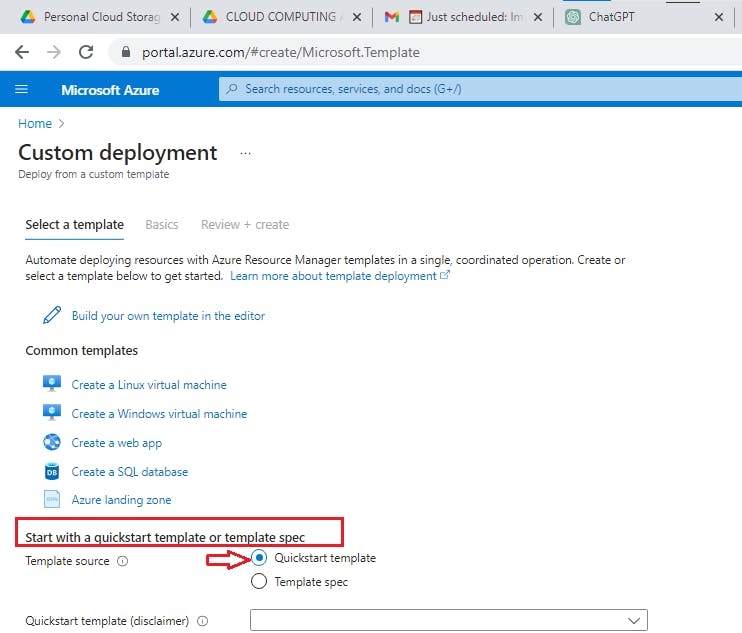
Template source refers to the location in which you can find a template for deploying Azure resources. There are two types of template sources: Quickstart templates and Template Specs.
a) Quickstart Templates
Quickstart templates are like prebuilt templates that make it easy to get started with deploying resources in Azure. They come ready-made and can be customized to suit your specific requirements. These templates provide a convenient starting point, saving you time and effort in setting up your Azure resources from scratch.

b) Template Specs
Template Specs allow you to organize and manage your templates in Azure, making it easier to control how they are used and shared within your organization.
Create A Linux Virtual Machine in 2 Minutes
For this tutorial, we will create a Linux virtual machine with a custom template using the quickstart template.
a) Log in to your Azure portal, and search for Deploy a custom template in the search bar. Once it appears, click on it to begin.
b) Click on "Create a Linux virtual machine"

Template
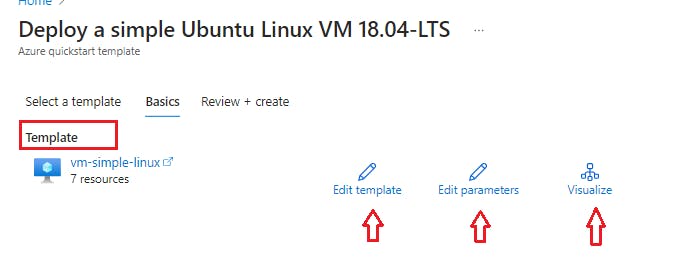
a) Once you've clicked on Create a Linux virtual machine, the Basics page will reflect your Linux virtual machine template.
b) You have the option to either edit the template, edit the parameters or Visualize.
The visualize button is primarily to enhance the user experience and provide a visual cue about the underlying Linux distribution or customization associated with the template.
Please note: I did not click on the buttons discussed above
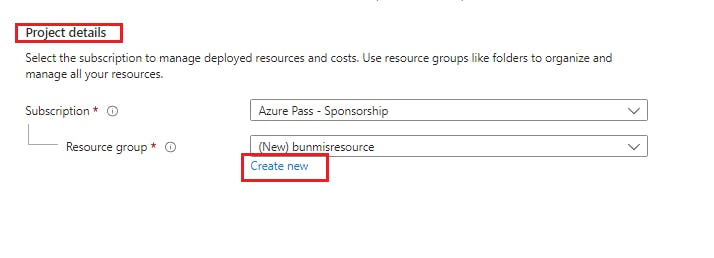
Project Details
a) In this category, your Subscription is automatically selected. You can choose to change your subscription if you have multiple.
b) Create your resource group or select from the drop-down if you have an existing resource group
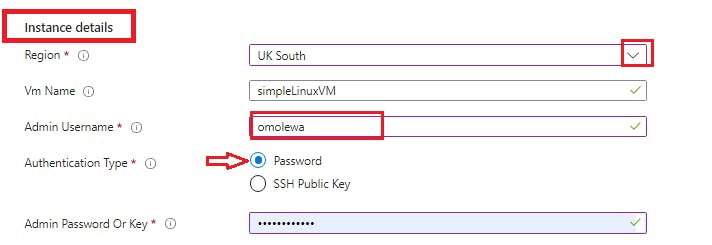
Instance Details
a) Although the template selects a region for you, you can choose to change it to another region
b) Give your Admin Username a name
c) Select your authentication type as Password for quick connection
d) Input the Admin password
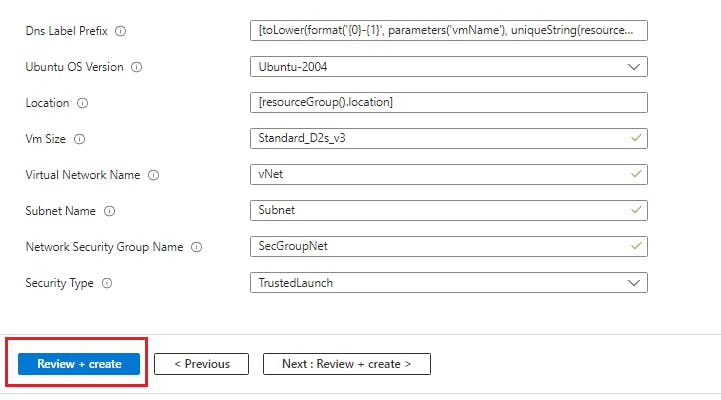
e) When you scroll down, you can see that the custom template has provided the VM size, and security type without the need to select one.
f) We can as well see that our VM is located inside the resource group you created. Leave the configuration details in their custom state.
g) Click on the Review+create button
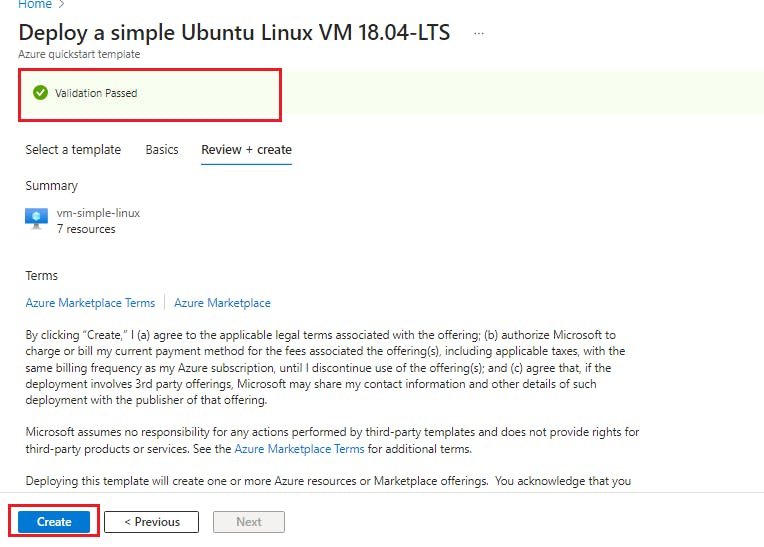
h) Once validation is passed, click on the "Create" button.
i) Once deployment is complete, click on go to "resource group"
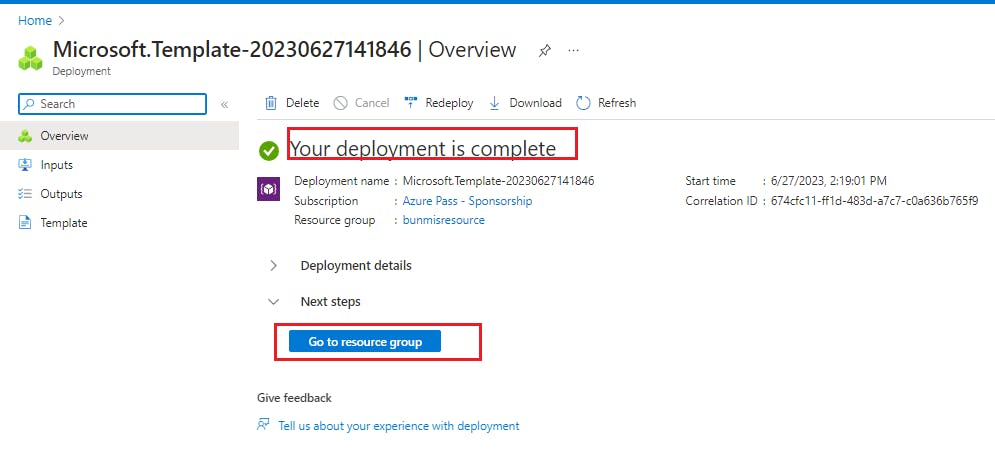
j) We can see that our virtual machine and all other dependants like its disk, network and security group are located in the resource group
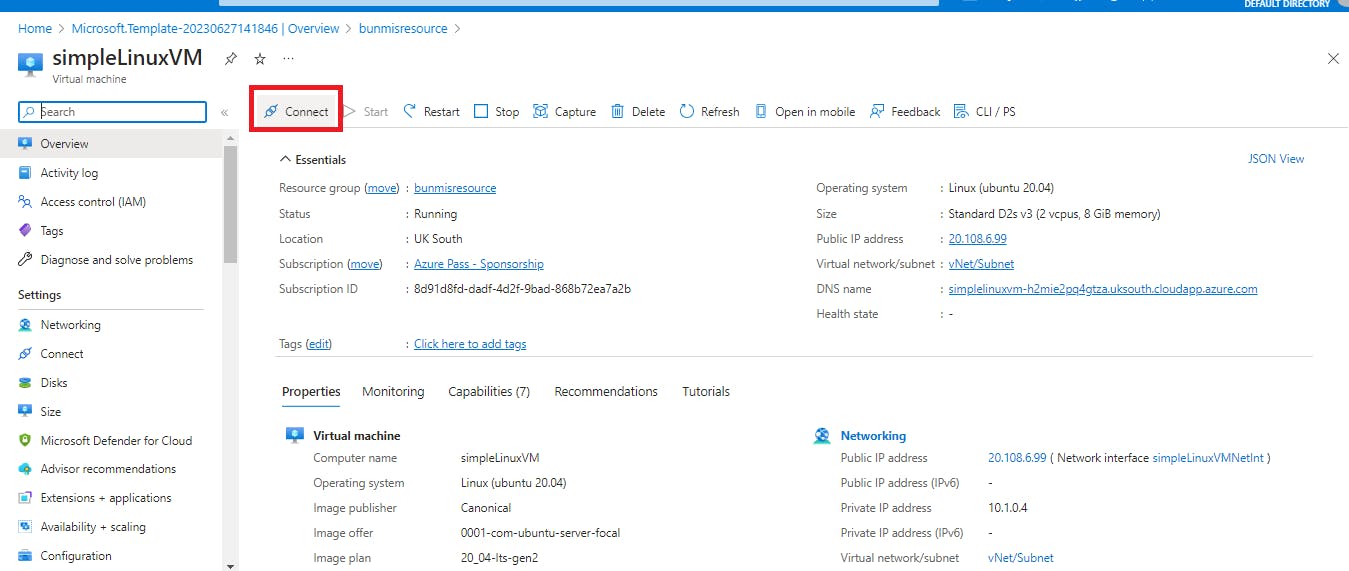
k) Click on your LinuxVM which is named "simpleLinuxVM"

To connect to your virtual machine, click on "Connect" on the upper-left side of your virtual machine.
To quickly connect to your virtual machine, input the following command in your Linux or PowerShell terminal on your desktop
ssh <your username@IPaddress> and click enter.
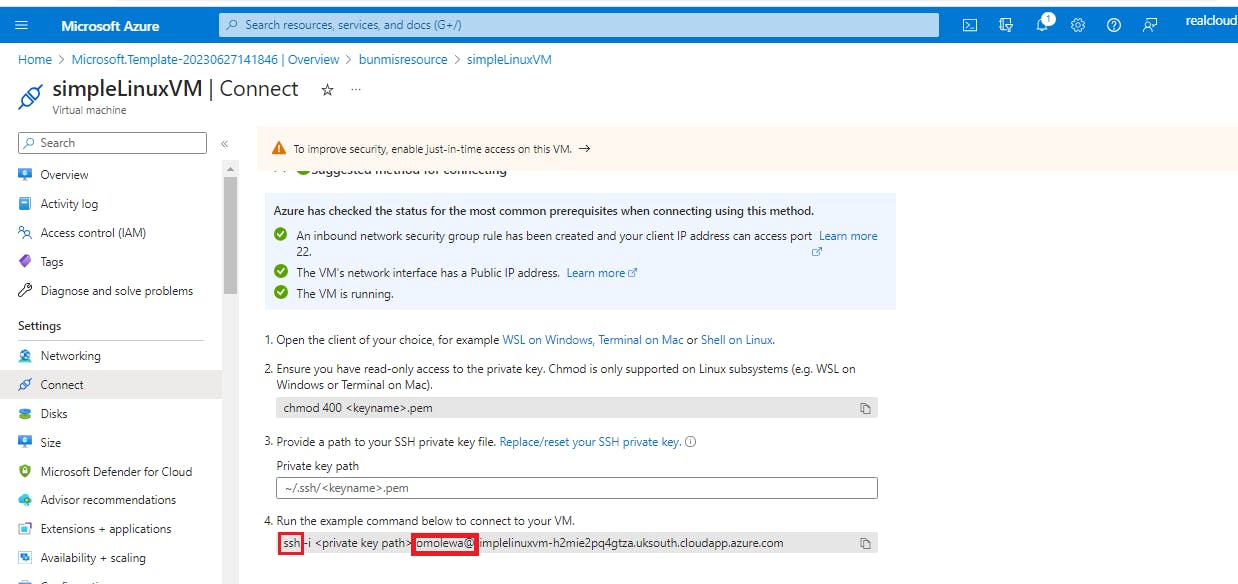
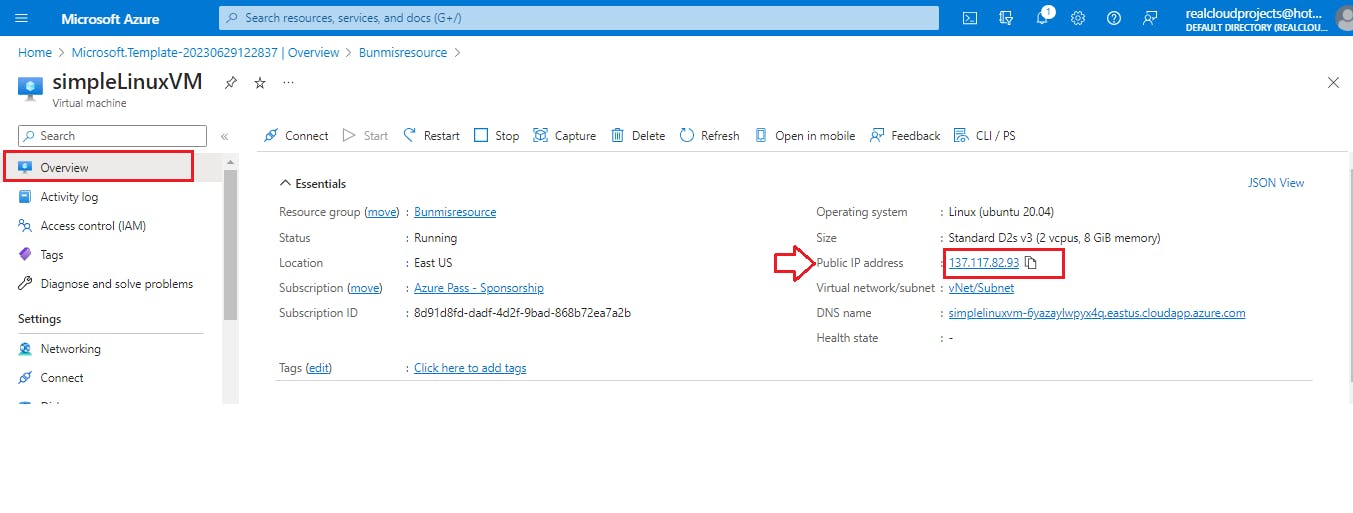
To copy your IP address, go to the overview. You will see your Public IP address toward the right highlighted below.
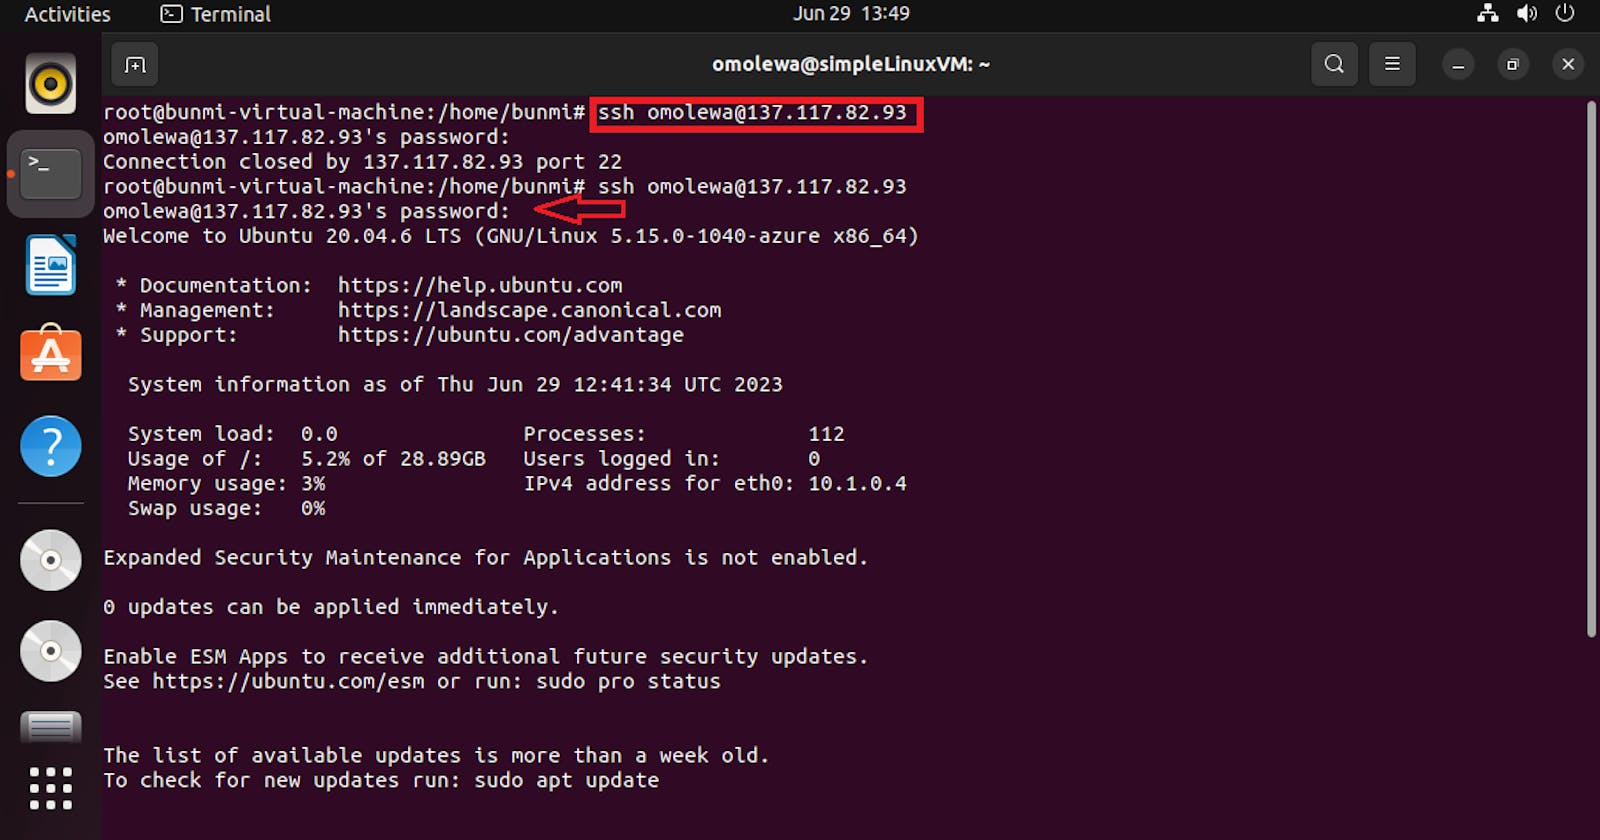
Go to your Terminal and input the command:
ssh <your username@IPaddress> as shown below. Click enter.
Input your password and press enter.
You are now connected to your Linux Virtual Machine.
