How to Capture a VM Image, Store in a Compute Gallery and Create a Virtual Machine Scale Set

I am a Cloud Developer documenting my cloud journey one day at a time.
In this blog post, I will guide you through the process of capturing a virtual machine and transforming it into an image. We will then explore the steps to save this image in the compute gallery, which we previously established in my blog post A Review of the Azure Compute Gallery.
Additionally, we will delve into the distinction between a generalized and specialized operating system state, providing clarity on their unique purpose.
And that's not all—prepare to embark on an exciting journey as we create virtual machine scale sets utilizing our VM Image.
Exciting, isn't it? Let's dive right in and begin this captivating adventure.
Capture Your Virtual Machine
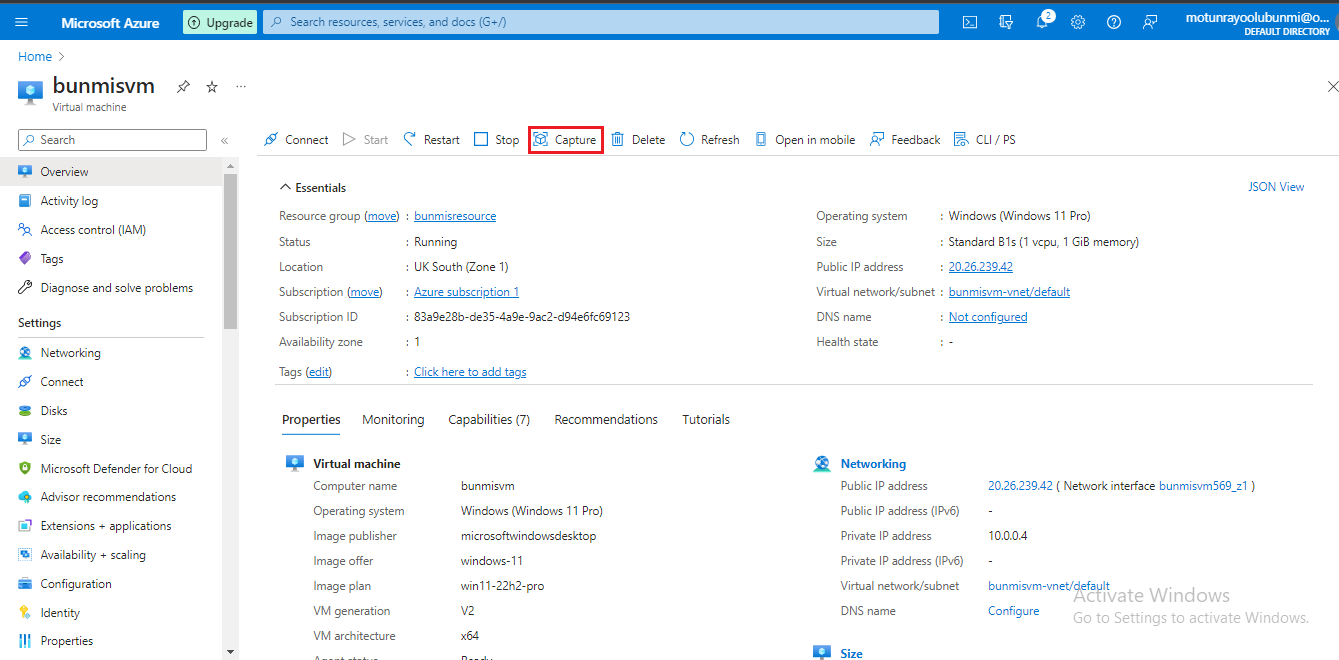
a) Go to your existing virtual machine and click on "Capture" to create an image as shown below.
b) On the project details and instance details section, leave in its default state
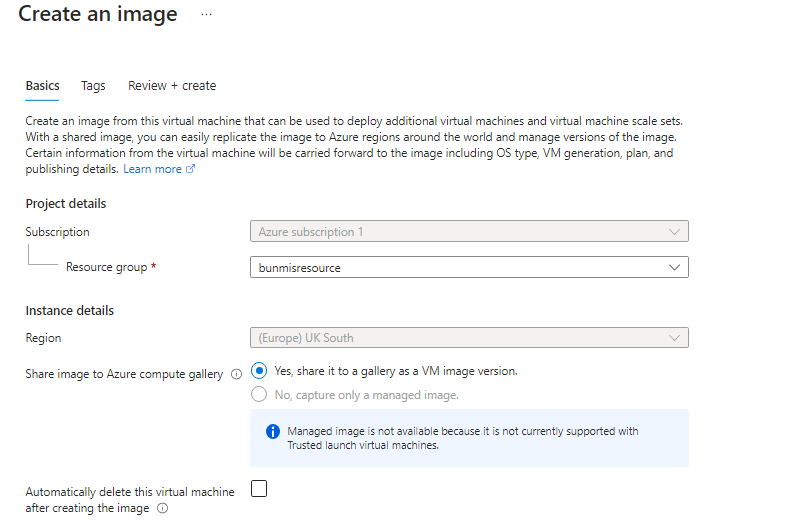
c) In the gallery details section, select your existing Azure compute gallery, but if you do not have one, click on "Create new" to create one
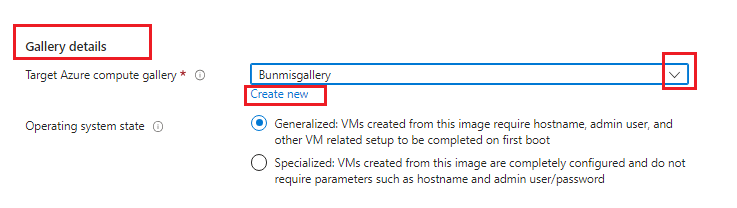
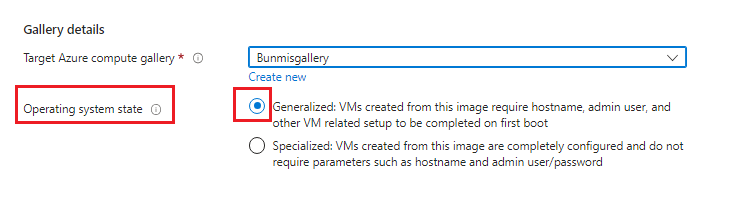
d) On the Operating system state, we have two options which are Generalized and Specialized.
Generalized Operating system state
This refers to a state in which the operating system image is prepared for distribution or deployment. This is like a clean and basic version of the operating system that can be used as a starting point to create different virtual machines. It doesn't have any specific settings or personal information.
Specialized Operating system state
This refers to a state in which the operating system image is customized and configured for specific requirements or purposes. This is a customized version of the operating system that is tailored to specific needs. It includes all the specific settings, applications, and configurations required for a particular purpose or environment, like installing specific software or setting up network connections.
In this demo, we will select generalized.
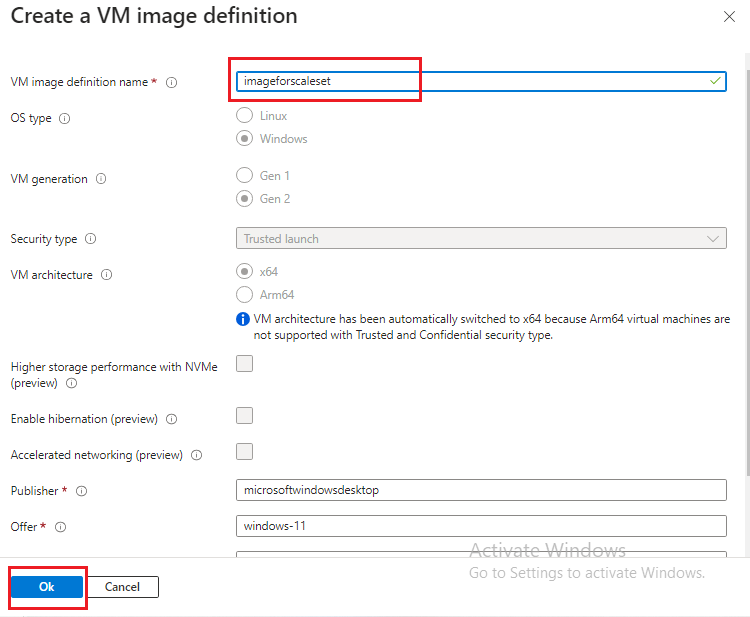
e) Scroll down to Target VM image definition and click on "Create new"

f) Give your VM image definition a name and click on the "OK" button
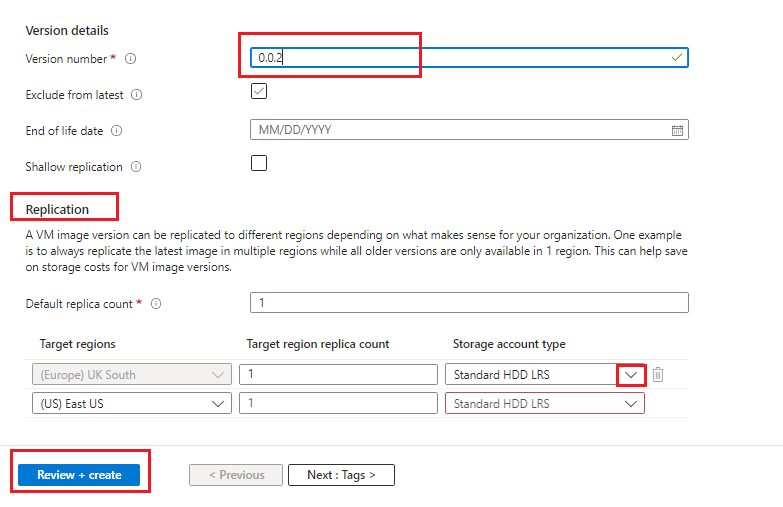
g)In the version details section, input a version number as indicated for you. Leave the settings in their default state.
h) In the replication section also, leave the settings as default. Click on Review+ create
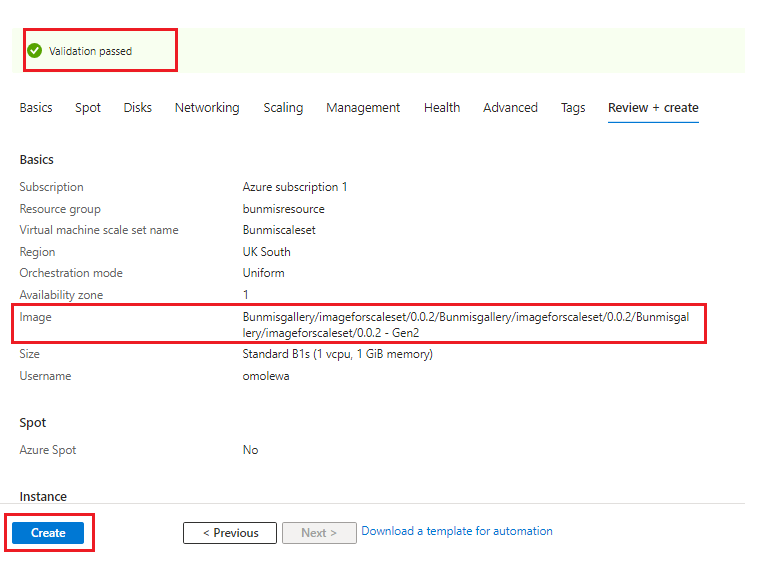
i) Once validation is passed, click on "Create"

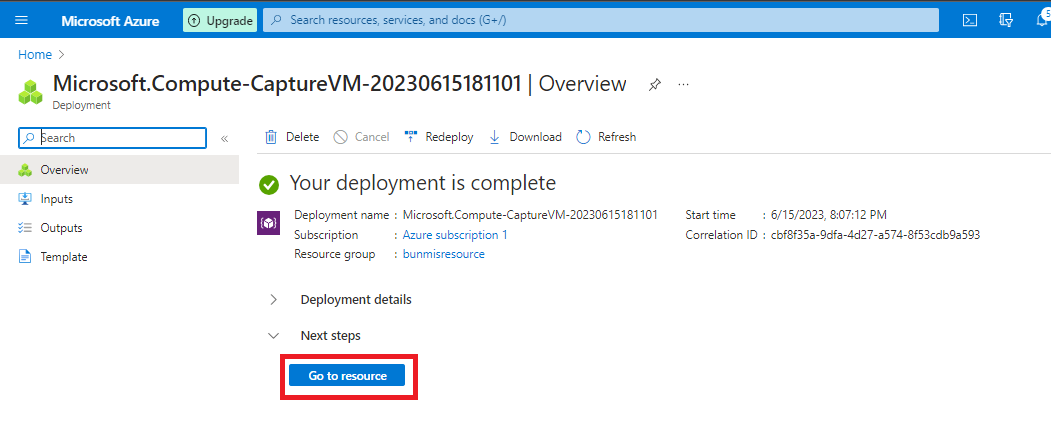
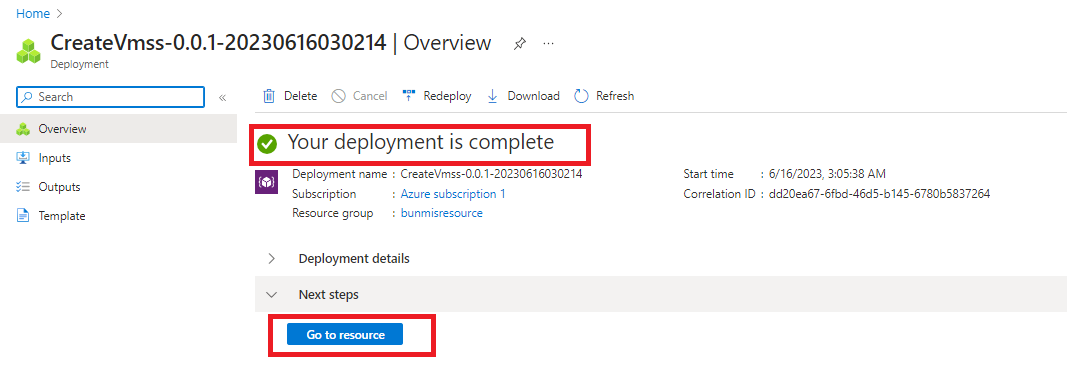
j) When the deployment is complete, click on "Go to resources"
Congratulation!!
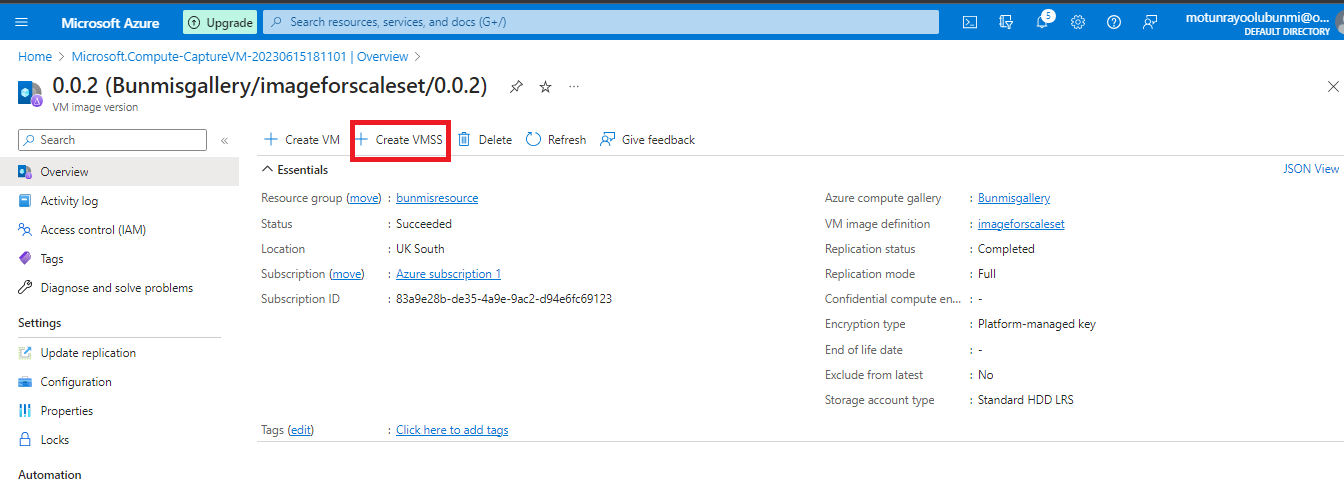
Your VM image has been created successfully at this point. You can utilize this image to generate a fresh virtual machine or a virtual machine scale set by choosing it as the operating system during the creation process.
How to Create a Virtual Machine Scale Set with Your VM Image
There are two options to create your Virtual Machine Scale Sets with your VM image
Option One: You can either create directly from the VM image saved in the Azure compute gallery by clicking on "Create VMSS" or;
Option Two: Go to the Azure portal and search for virtual machine scale sets
In this blog post, we shall be creating our VMSS directly from the gallery. Follow the steps below;
a) Click on "Create VMSS"
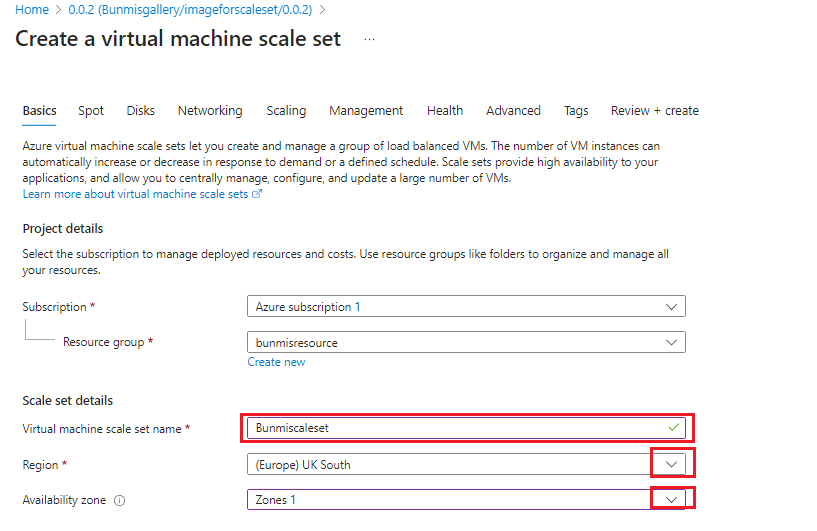
b) On the Basics page, give your virtual machine a name, choose your region and availability zone.
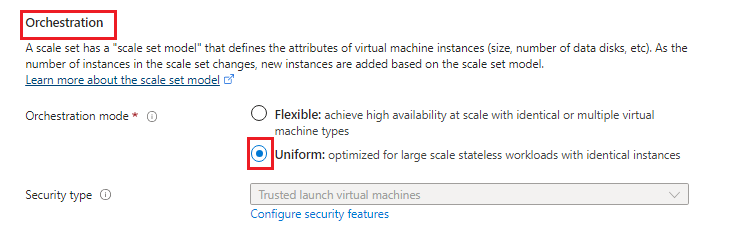
c) Scroll down to the orchestration mode and select "uniform" to enhance large stateless workloads with identical instances
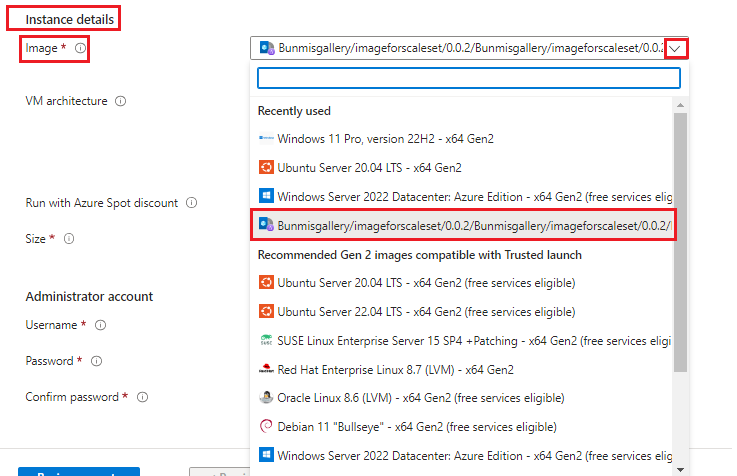
d)Scroll down to instance details and click on the image drop-down.
e)You will notice that your VM image has automatically been added to your list of images. Select your VM image.
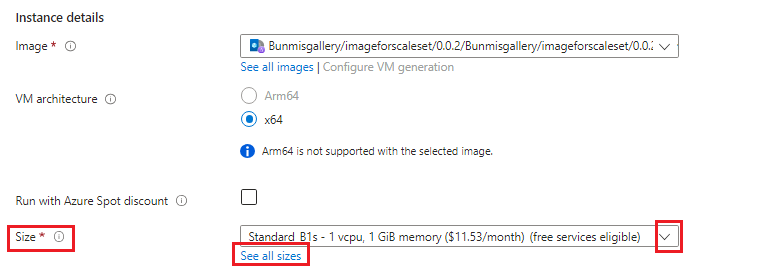
f)Choose the size you want or see all sizes.
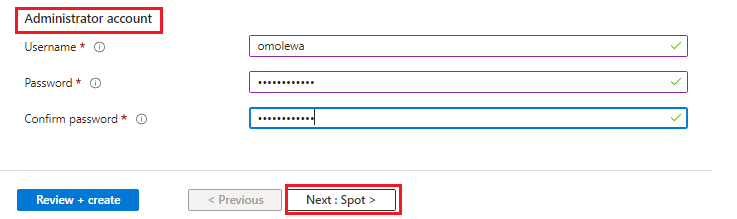
g) In the Administrator account section, input your username and password
Click on "Next: Spot"
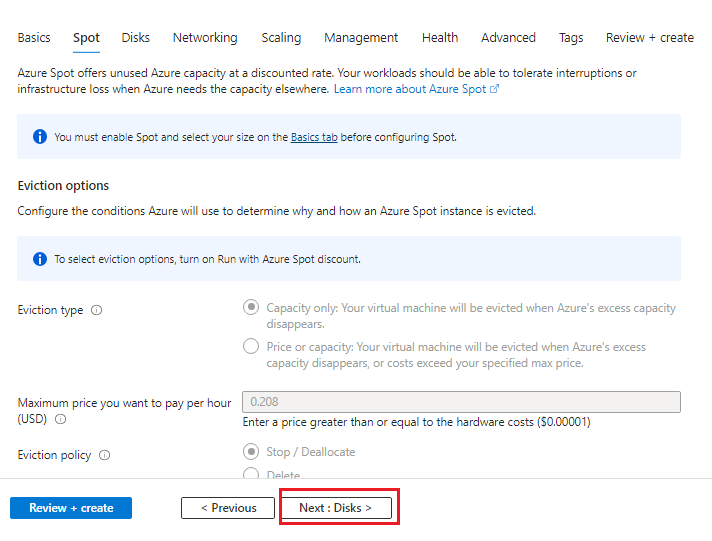
h)Leave the Spot page in its default state. Click on "Next: Disks>" to direct you to the Disk page
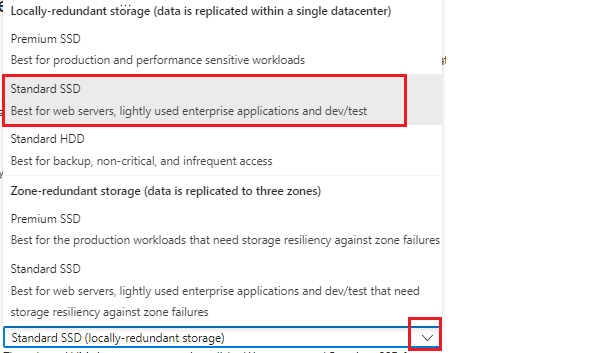
i) On the Disk page, scroll down to "OS disk" and click on the drop-down to select your choice. Leave the other categories as default and move to the next page which is the "networking" page.

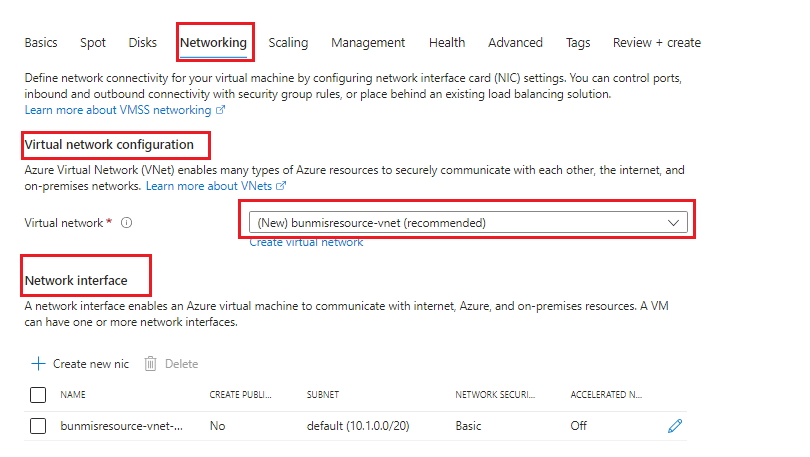
j) Your virtual network has been created by default.
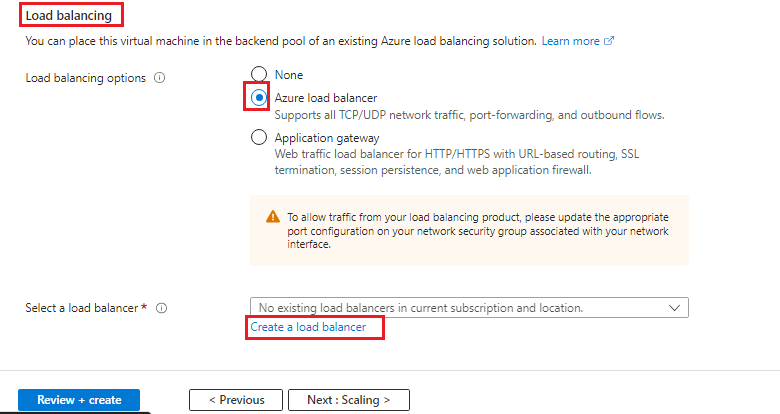
k) Scroll down to Load balancing and select "Azure load balancer" as your load balancing option.
Create your load balancer by clicking on "Create a load balancer"
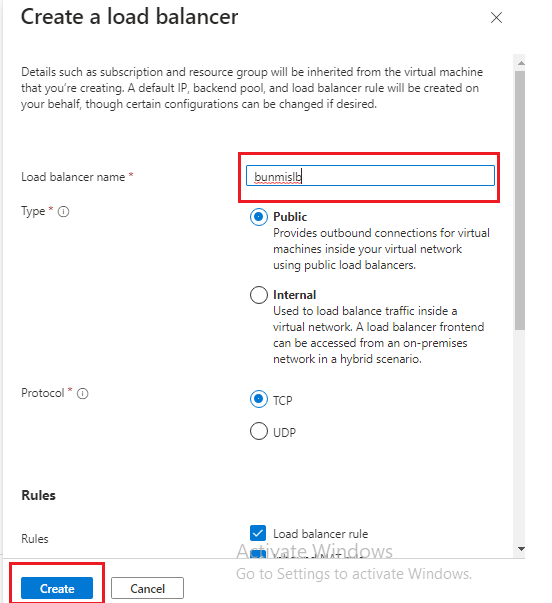
l) On the Create a load balancer page, give it a name and retain it in its default state. Click on the "Create" button
m) Your load balancer has been created. Click on "Next: Scaling>"

n) On the scaling page, input your initial instance count. I chose 2 instances
o) On the scaling policy, select custom. You can choose to change the minimum and maximum number of instances according to your organization's specifications.
p) You can choose to leave the scale-out as the default or set it to your specification

q) Also, leave the scale in policy in its default state as well and click on Next: Management"

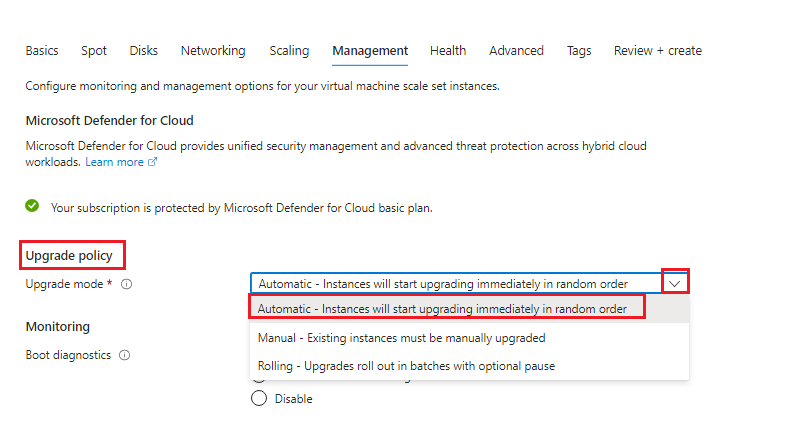
r) On the Upgrade policy, click on the Upgrade mode drop-down and select automatic, so that your instances will start upgrading immediately in random order
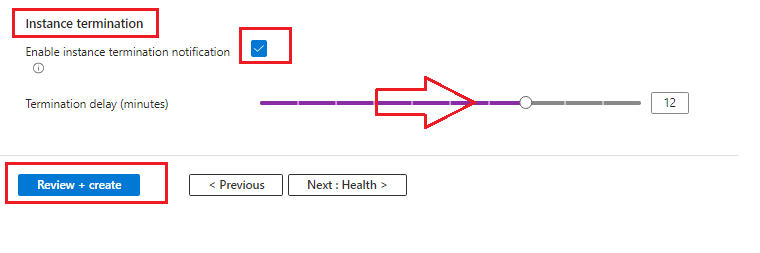
s) On the instance termination section, enable instance termination notification by ticking the box. You can then move the termination delay to a specific number of minutes not exceeding 12 minutes.
Click on review and create
t) Once validation is passed, click on "Create"
u) Your resources will begin to deploy. Once deployment is complete, click on "Go to resource"
v)There you have the overview of your virtual machine scale set.

w) To view your instances, "click on Instance"
x) From the image below, we can see our two initial instances are running.

I trust that this step-by-step guide has provided you with a clear understanding of capturing a VM image and saving it in your compute gallery. Additionally, you now understand the possibility of creating a virtual machine or virtual machine scale set using the captured VM image. Thank you.


