From Visual Studio to Azure Functions: A Comprehensive Guide to Creating a Function App Calculator, Publishing to Azure Portal, and Pushing to GitHub


This blog post will guide you through the process of setting up a Function App in Azure. We will create a Function App that will serve as a home for our Function Calculator.
To develop the Function Calculator, we will use Visual Studio Community 2022 as our development environment.
Once the Calculator is ready, we will test it using a web browser. Finally, we will push the Function Calculator to GitHub for collaboration purposes.
Before we begin the demonstration, let's take a look at what an Azure Function is.
What is Azure Function
Azure Functions is a serverless computing service that enables you to run event-driven code snippets or functions in the cloud. It allows you to execute small pieces of code in response to various triggers, such as HTTP requests, timers, messages from queues, events from event hubs, etc. Key features of Azure Functions include:
a) Event-driven execution: Azure Functions are designed to respond to events or triggers, making them suitable for reactive and event-based scenarios.
b) Scalability: Functions automatically scale to accommodate the workload based on the number of incoming events, ensuring optimal resource utilization.
c) Wide range of supported languages: Azure Functions support multiple programming languages, such as C#, JavaScript, Python, PowerShell, and more.
d) Pay-per-use pricing model: Functions offer a consumption-based pricing model, where you only pay for the resources used during function execution.
Azure Functions are commonly used for building serverless applications, implementing microservices, processing data, handling webhooks, and performing lightweight computational tasks.
Prerequisite,
a) download and install Visual Studio Community 2022
b) An existing GitHub Account
c) Create a free Azure Account
Create Your Function App
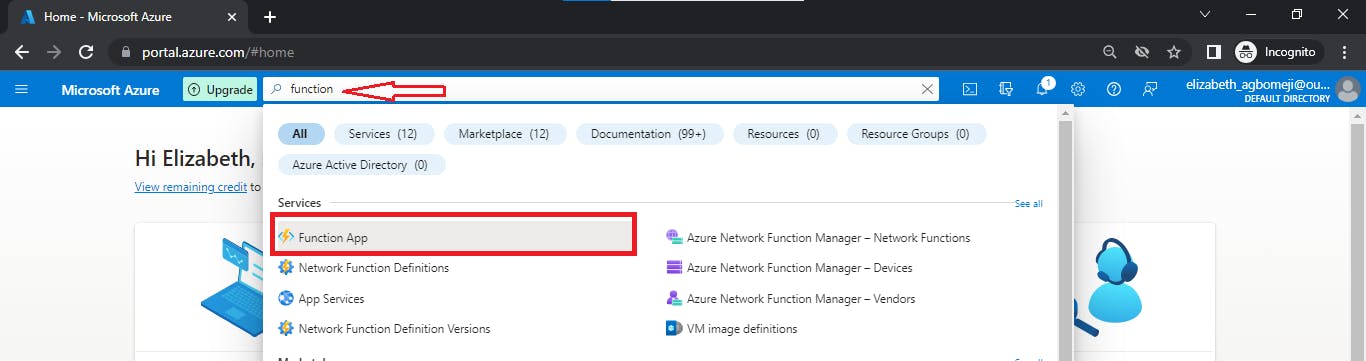
a) Sign in to your Azure portal
b) In the search menu, input Function App and click on it when it appears
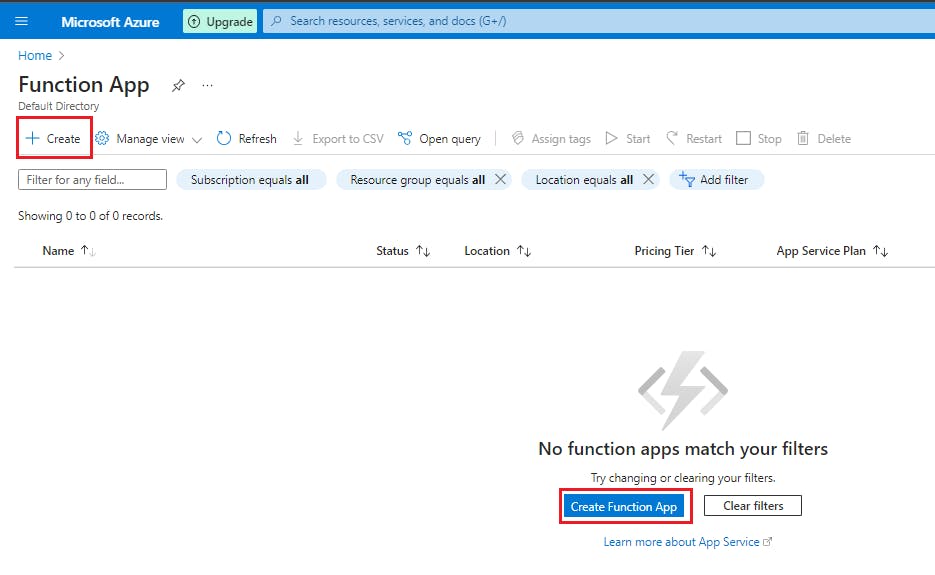
c) Click on the "+Create" button at the upper-left corner or the "Create Function App" Button at the center of the page
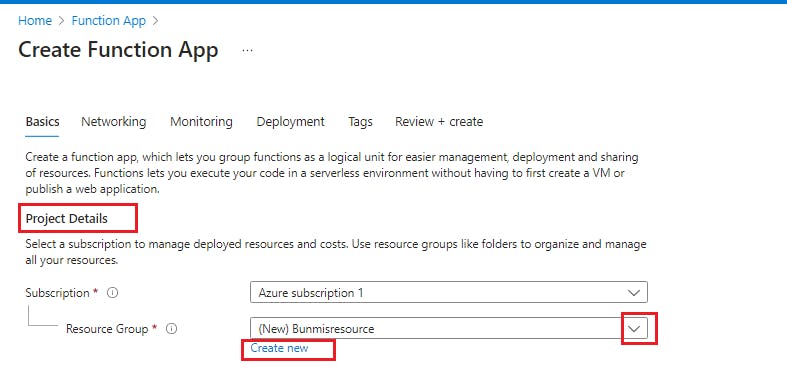
Project Details
On the Project details, select your subscription and resource group.If you don't have one, click on the "Create new" button
Instance Details
a) Give your Function App a name
b)Select the Code button to deploy your code.
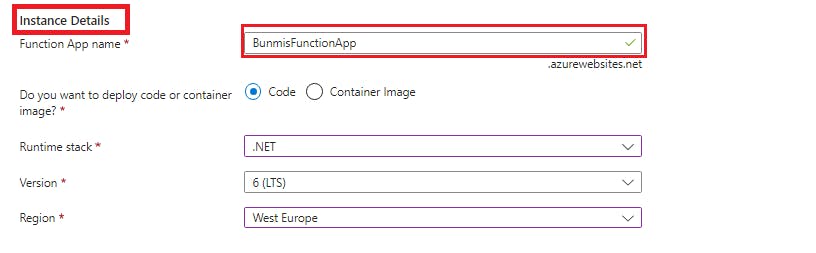
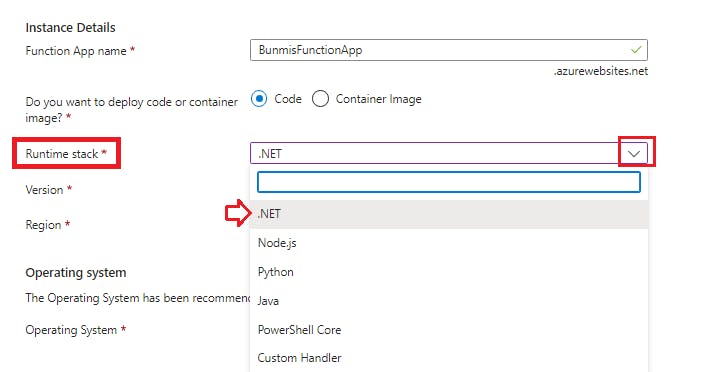
c) Leave the runtime stack as ".NET". However, if you click on the drop-down, you will see the types of run stack available to use to run your code.
d) Leave the version in its default state. click on the drop-down see other versions available for you.

e) In the region section, click on the drop-down to select a region.

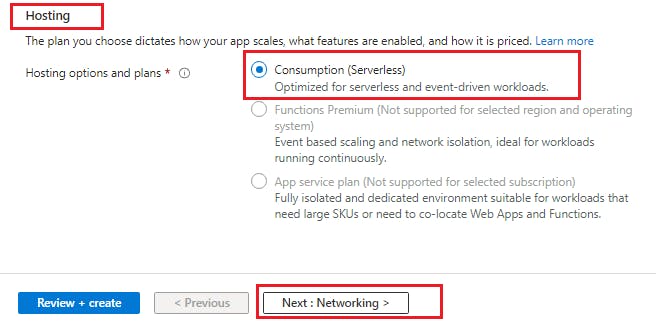
Hosting
a) Select the "Consumption (serverless)" hosting option and plan. This plan is suitable for serverless and event-driven workloads.
The other options are Functions Premium, which is an ideal option for a workload that runs continuously. It's not supported for some Azure regions
While the App Service plan is a dedicated environment for workloads that need large SKUs(Store Keeping Units). It can also be used to co-locate Web Apps. However, it's not supported for some subscriptions.
b) Scroll down and click "Next: Networking"
c)On the networking page, ensure to enable public access.
d) Click "Next:Monitoring" button

Monitoring, Deployment, Tags.
a) Leave the above pages in their default state and click on the "Review + Create" button.
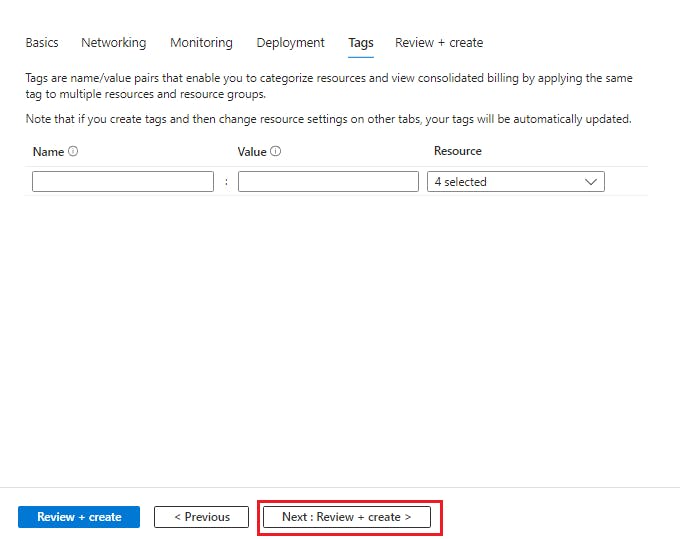
b) Next, click on the Create button.

c) Once your deployment is complete, click on go to resources.
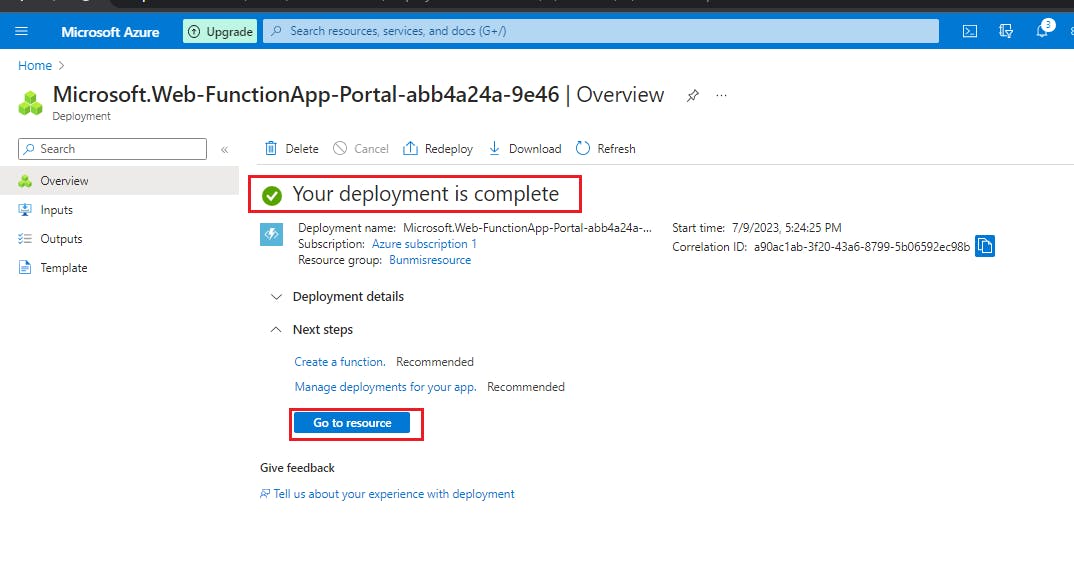
d) Your Function App has been created and is ready to house your Calculator App
Go to Virtual Studio
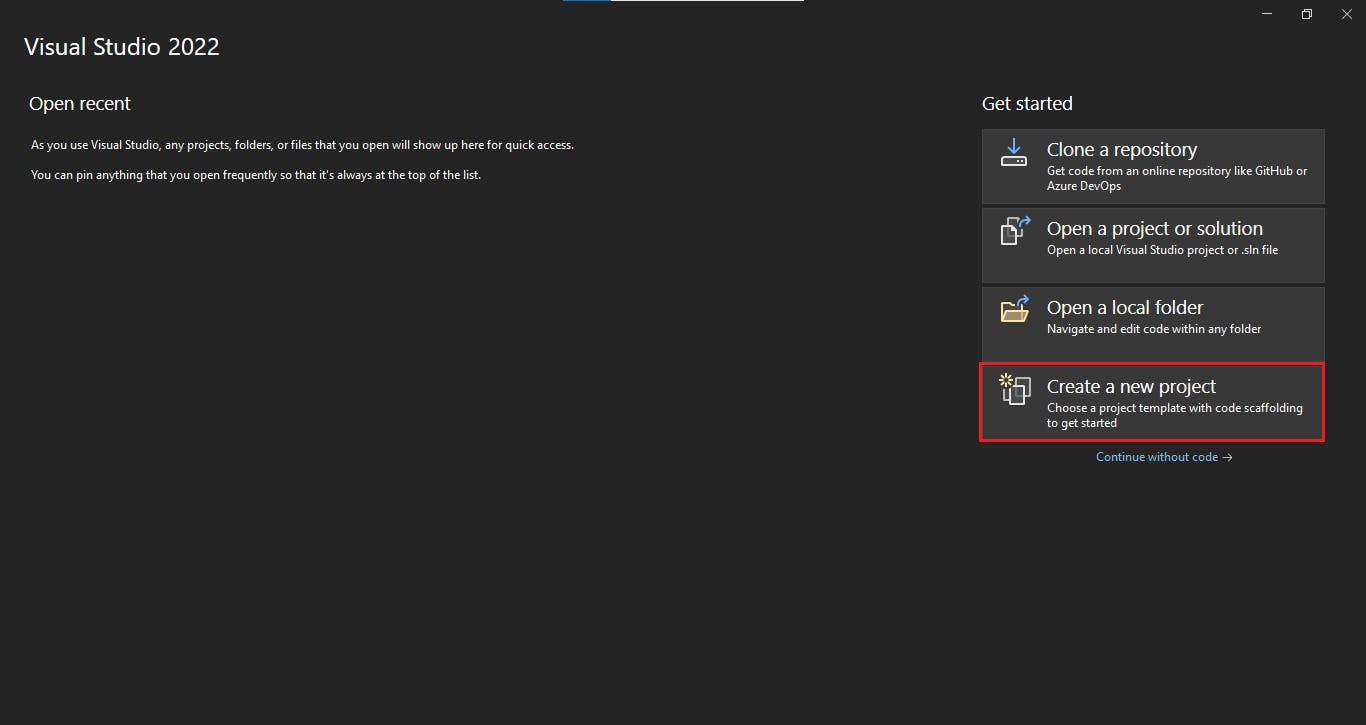
a) Open Your Virtual Studio
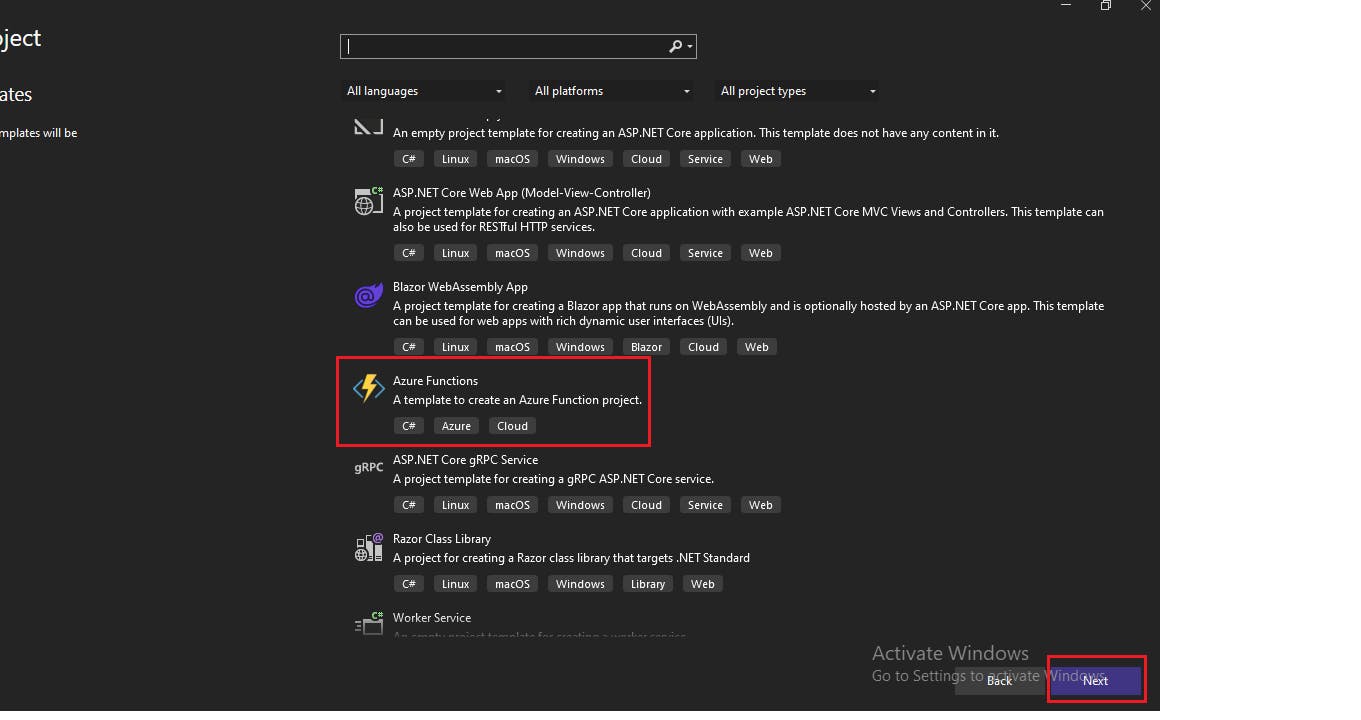
b) Click on create a New project
c) Then Select "App Function" and click the "Next" button
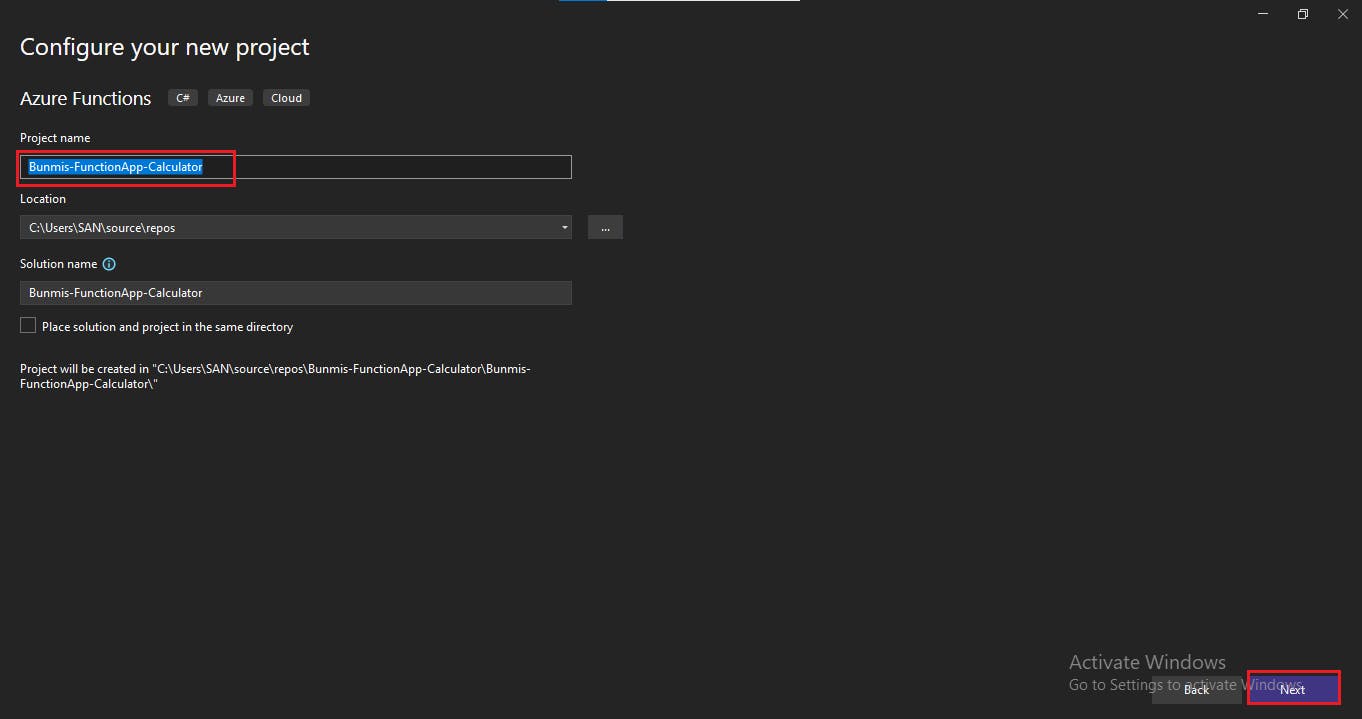
d) Give your project a name.
e) Click Next to continue
HTTP Trigger
a) Leave the next page in its default state. Ensure your Function is Http Trigger.
An HTTP trigger enables a function to run in response to HTTP(S) requests. When you specify an HTTP trigger for a function, the function is assigned a URL at which it can receive requests. It also supports the GET, POST, PUT, DELETE, and OPTIONS request methods.
b) If you click on the drop-down, you can see there are other functions available for you.

c) Click next at the bottom-right corner of the page to continue

Edit Lines of Code
To create our Calculator App, we need to edit some lines of the code.
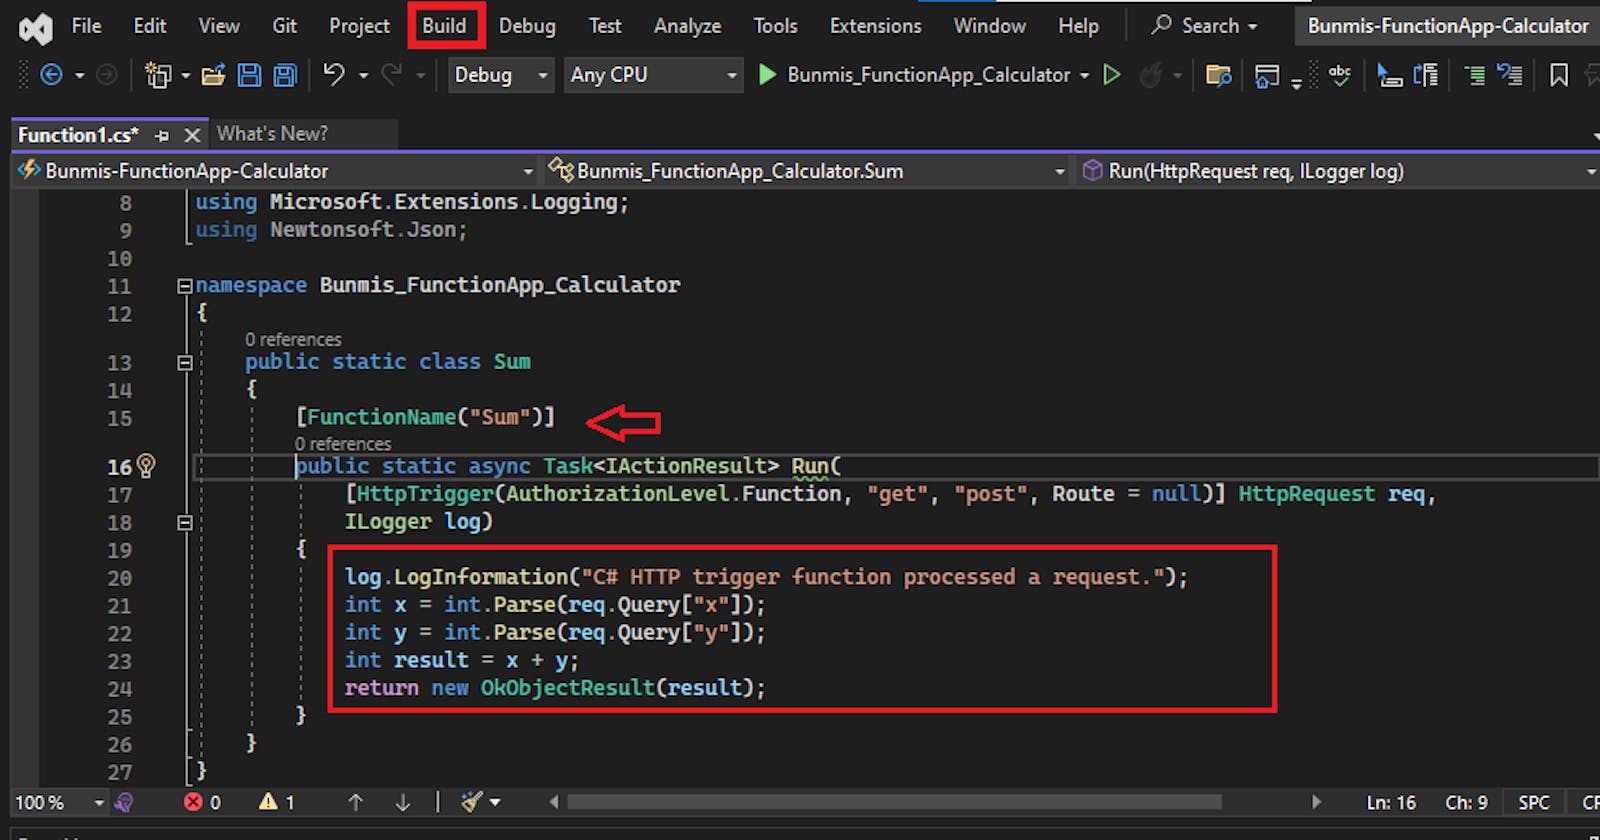
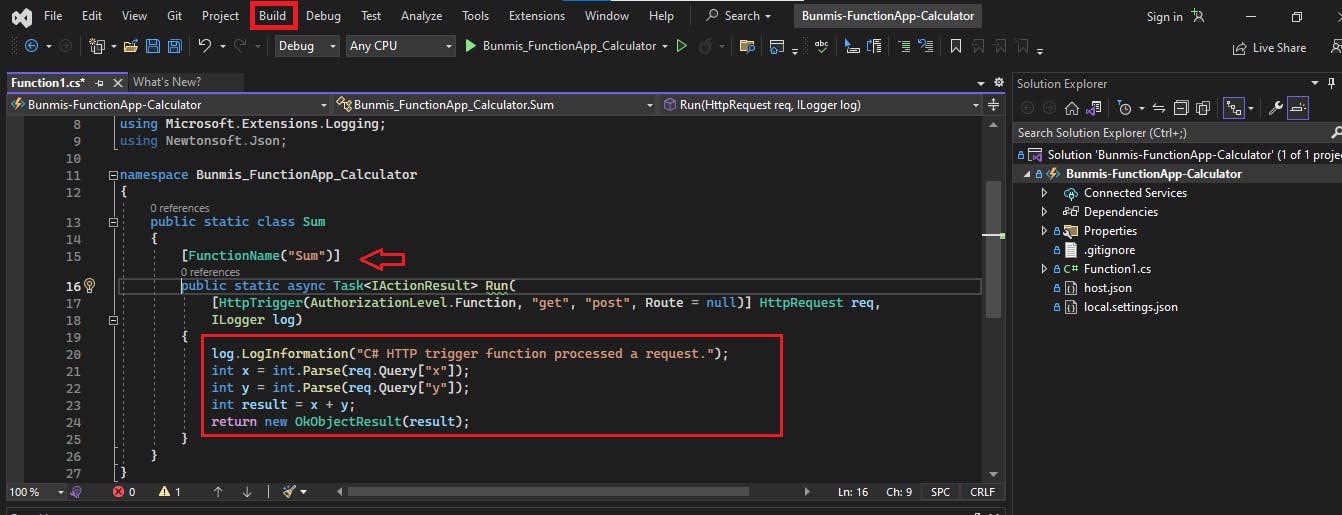
a) Delete code line 21 till the end.

b) Change the function name (line 15) and the public static class (line 13) to "Sum". This programming language allows you to calculate the total of a set of numbers.

c) Line 17 to line 20 of the code reflects our HTTP Trigger. The trigger acts as an entry point for your function and provides a way for external systems or users to interact with your code.

Type the following code from line 22 to replace the deleted codes;
int x = int .Parse(req.Query["x"]);
This code helps us get a number from a web address and store it as a regular number that can be used in calculations. It extracts the query parameter "x" from the web address and converts it from text into an integer

int y = int.Parse(req.Query["y"]);
The above explanation applies as well for the query parameter "y"

int result = x+y;
This line of code calculates the sum of two variables "x" and "y" and stores the result in a new variable called "result"

return new OkObjectResult(result);
This line of code is used to construct an HTTP response containing the result of the addition.

Once you are done click on build at the top of the page.
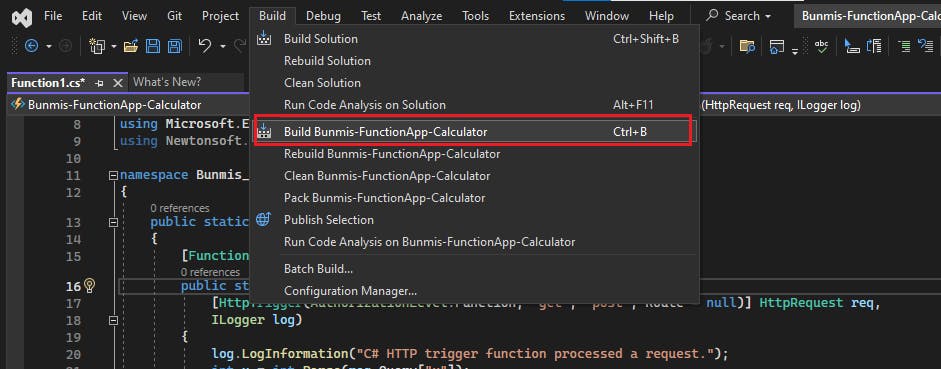
Once we are done inputting our code, we need to build it.
Click on the build button at the top of the page and click on Build(the name of your function calculator)
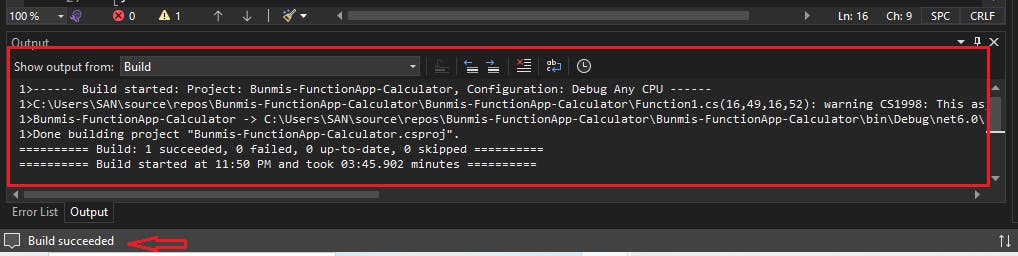
Ensure that you do not have any errors.
To be sure you have successfully built your calculator, scroll down to the right-bottom of the page to see "Build Succeeded"
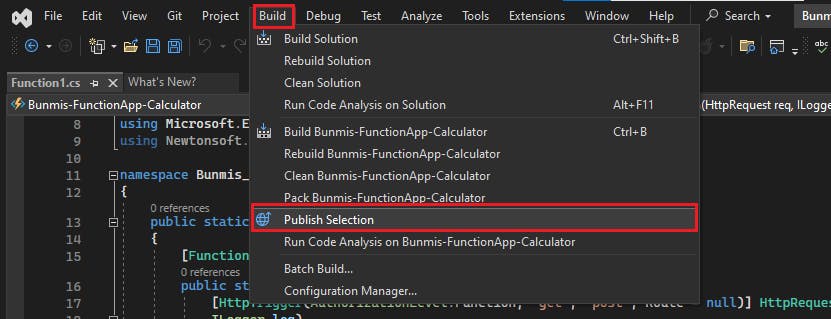
To publish your calculator to Azure, click on the build drop-down and select Publish Selection.
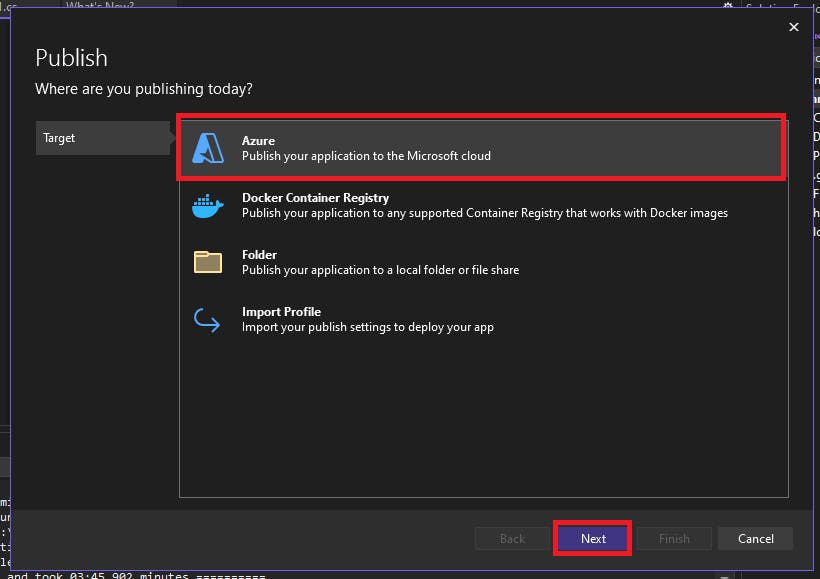
Next, click on Azure and click "Next" button
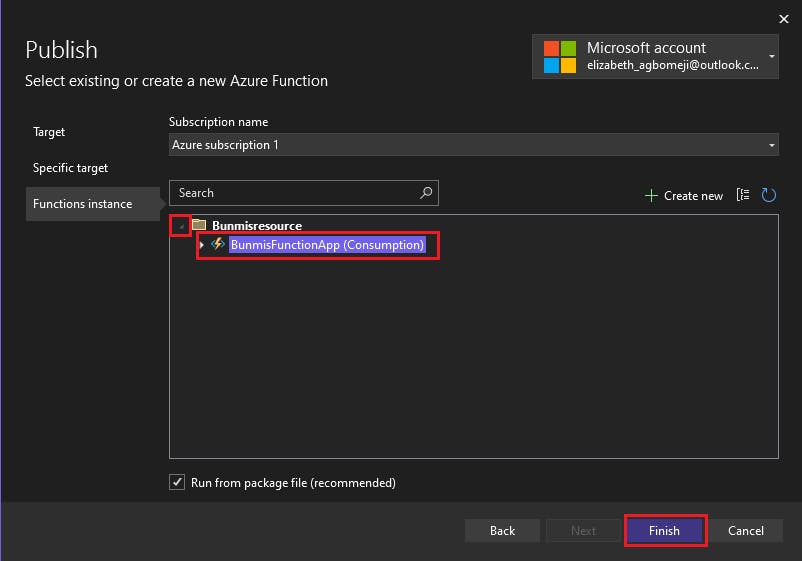
If you have an existing Azure account, you can use the same mail to sign up with Virtual Studio.
Click on your resource group drop-down and select the Function App you created in Azure.
Click on the "Finish" button
You will receive a notification that your profile has been published as reflected below. Click on close.

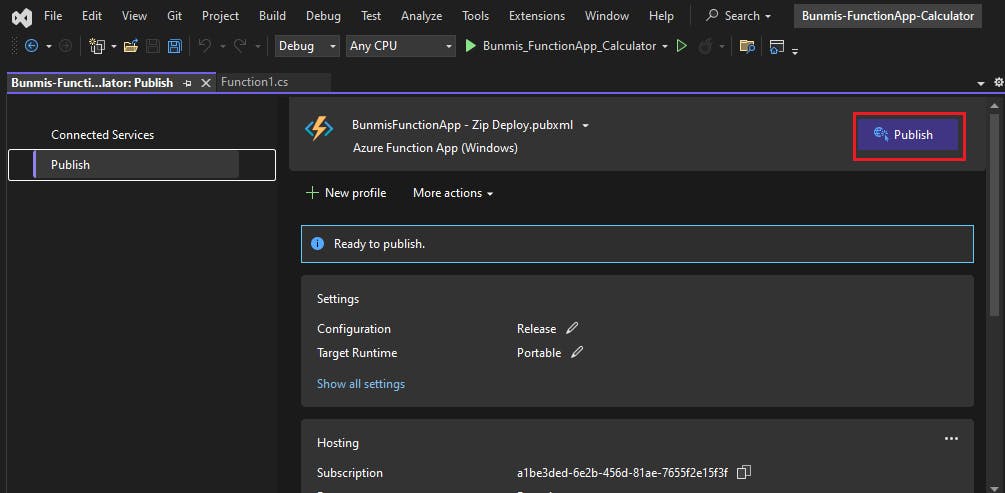
Continue by clicking on the publish button
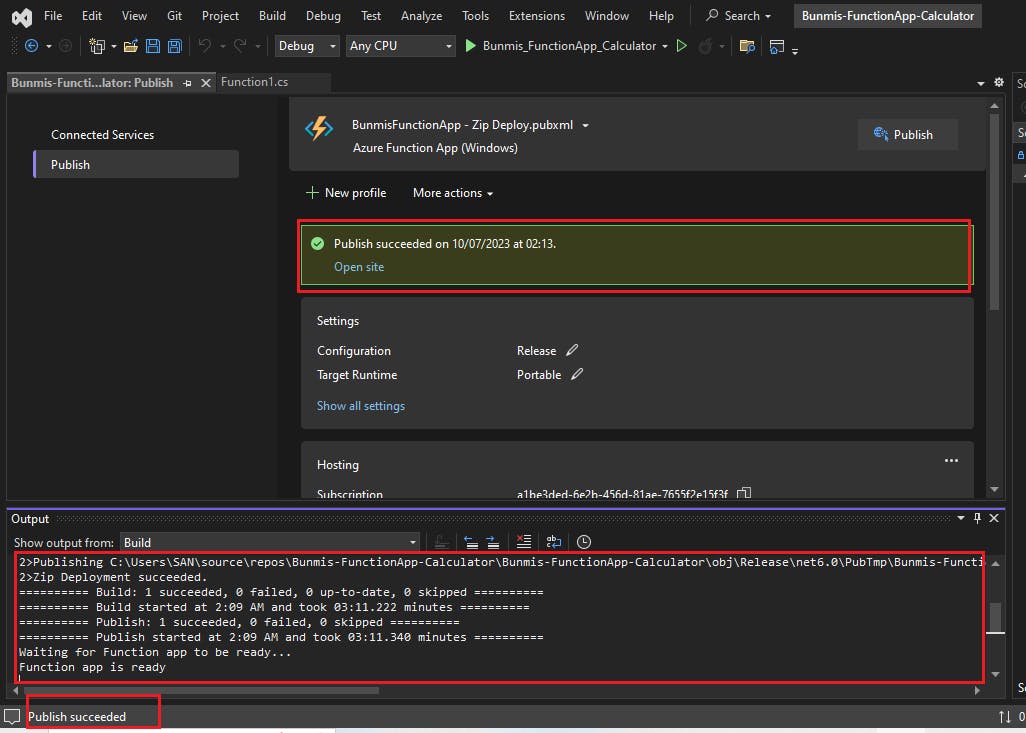
You will receive a notification of successful publication to Azure in the green box and also in the Output stating "Publish Succeeded"
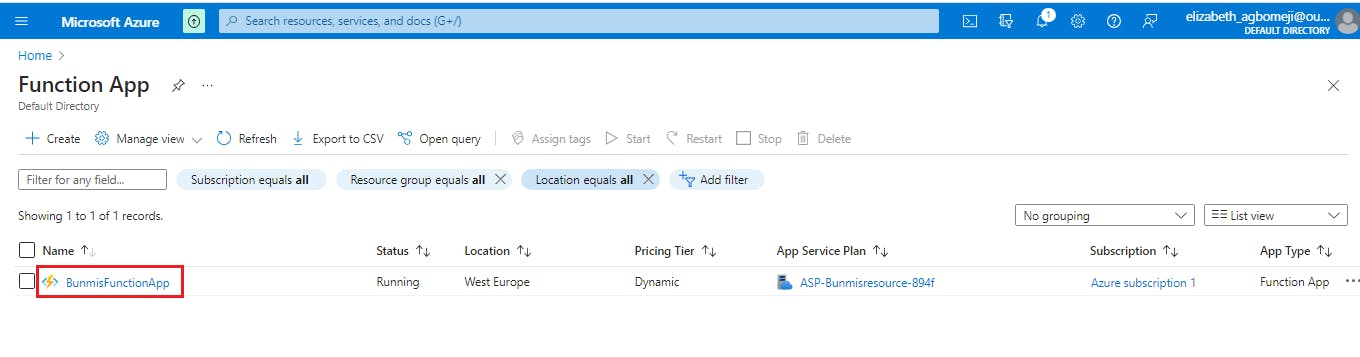
To confirm if truly our calculator has been published to Azure;
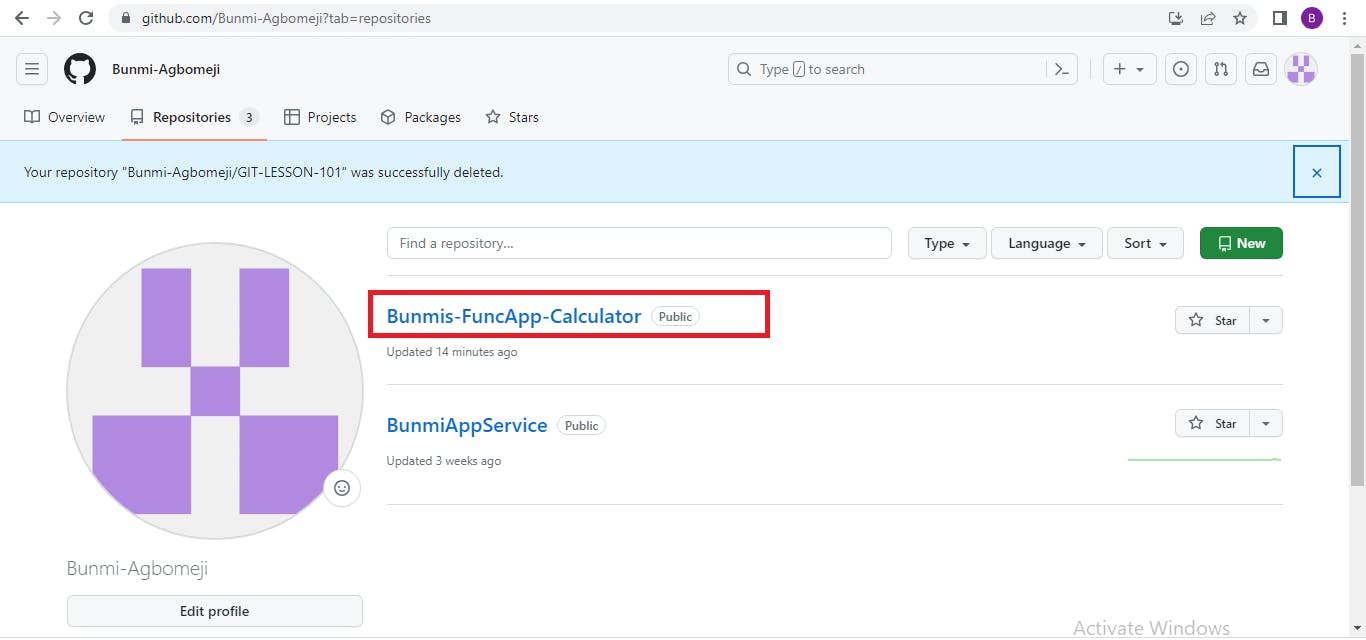
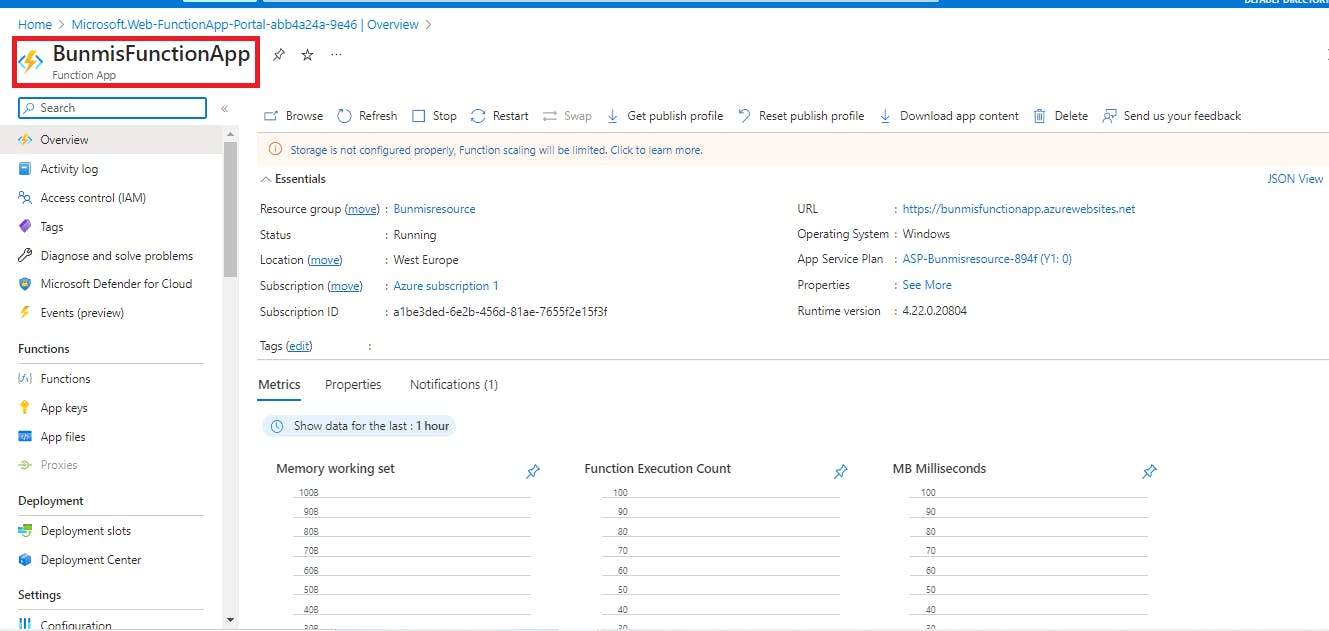
a) Go to Azure portal, search for function App
b) Click on your created Function App
Scroll down to the left side of the page and click on the "Functions" button.
Your "Sum" Calculator was published successfully.
Click on "Sum"

Click on Get Function Url
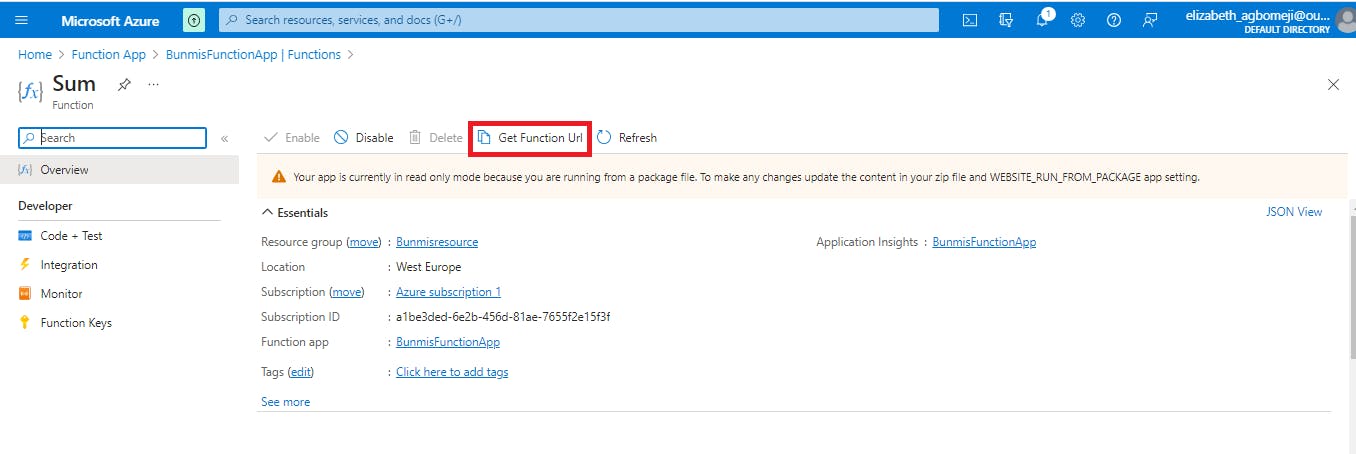
Copy the Url
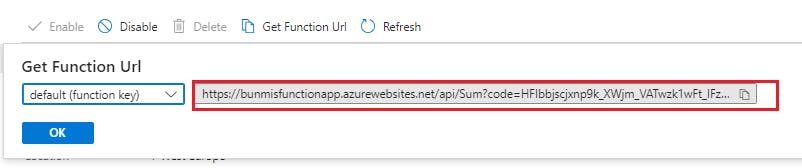
Go to your browser and paste the URL

To see our calculator in action, input &x=100&y=100 as a continuation to the URL
If x equals 100 and y is equal to 100,
x+y will give us 200
Once you are done, press the enter button
We can see our result gave us 200

Push to GitHub
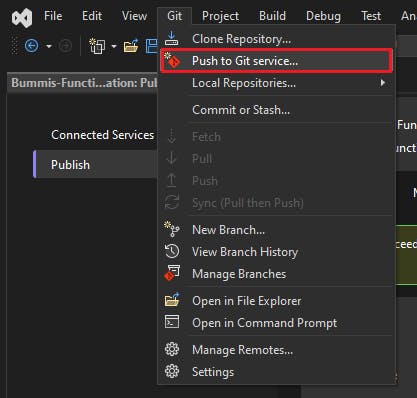
a) To push our calculator file to Github, click on the git button at the Top of the Visual Studio page.
b)Select the "Push to Git service" from the drop-down
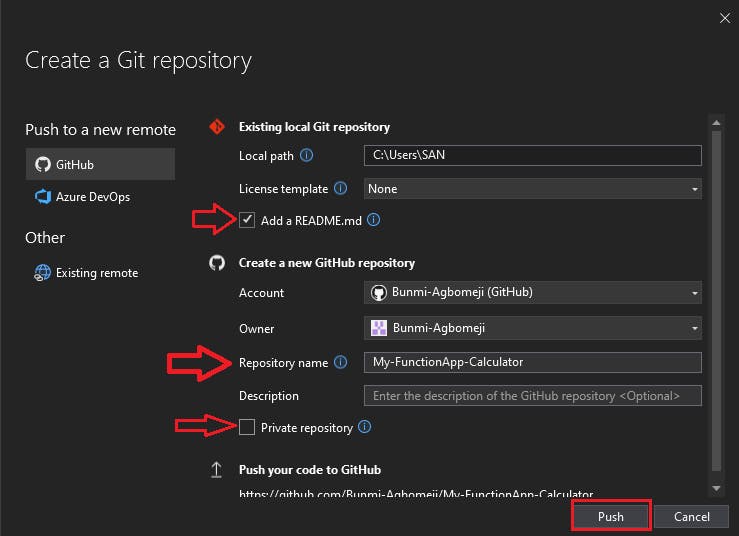
c) On the Git repository page, tick the Add a ReadME.md
d) Give your repository a name and click on Push
e) To confirm the success of your git push, sign in to your GitHub account to check for the calculator repository.