Azure Storage Account: A Guide To Creating a Blob Storage

I am a Cloud Developer documenting my cloud journey one day at a time.
Picture yourself owning a spacious closet equipped with separate sections to neatly organize your clothes, jewelry, and shoes.
Now, imagine Azure Storage Account as a digital replica of this closet. Similar to the diverse sections in the closet, Azure Storage Account has four options to store data: blobs (containers), files, queues, and tables. By providing your data with a unique namespace, this storage account enables effortless global accessibility through HTTP or HTTPS.
What is Azure Blog Storage
Azure Blob Storage can be described as a big virtual container or storage room where you can keep all kinds of things. Instead of physical objects, you store digital files, like pictures, videos, documents, or even computer programs.
Just like you organize your belongings in different boxes or folders, in Azure Blob Storage, you organize your files into containers called "blobs." Each blob can hold one or more files.
In this article, we will follow the practical steps to creating blob storage and explain each access tier using a car garage scenario.
1. Prerequisite
2. Create your Storage Account
3. Create your Blob Container
5. Types of Acess Tier
1.Prerequisite
a) If you don't have an Azure subscription, create a free account before you begin.
2. Create your Storage Account
a) Sign in to the Azure portal and click on the search bar for "storage account"
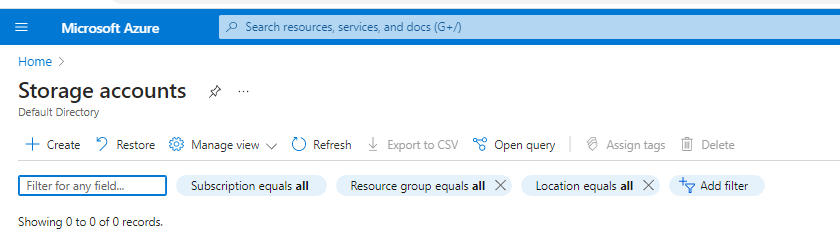
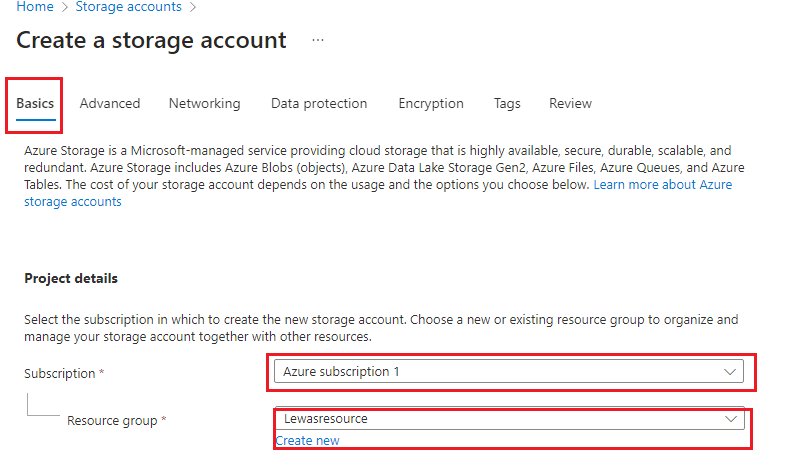
b)On the storage account page, click on "Create", this will land you on the "Basics" page
c) Under project details, click to choose your existing subscription
d) Click on "Create new" to create your resource group.
e) Scroll down to the instance details to input your globally unique storage account name, and select the region you want your storage to be deployed in.
f)To save cost, click on "standard" for your performance option. However, if you require low latency you can choose "premium"
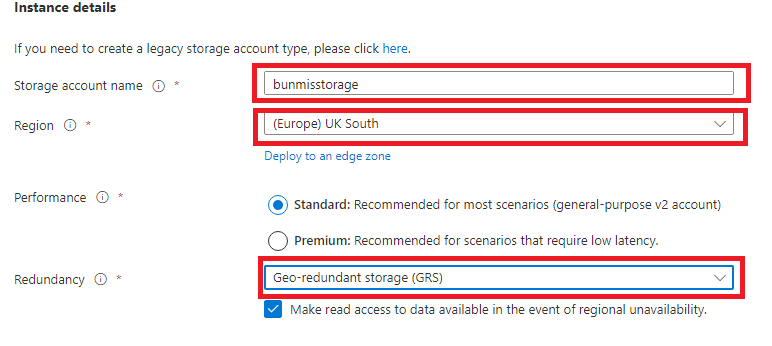
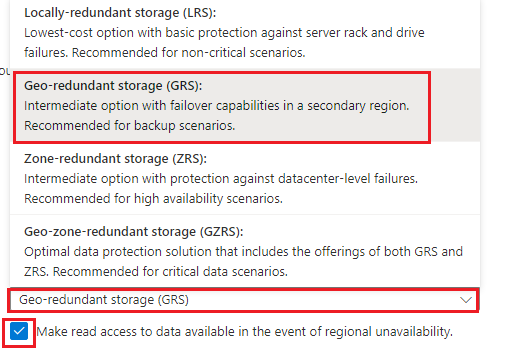
g)For redundancy, select "Geo-redundant storage(GRS)" This option has a failover capability in a secondary region and is recommended for backup scenarios. They are also stored in two regions
h) You can select any of the redundancy options based on your needs, but for this guide, we are going with GRS.
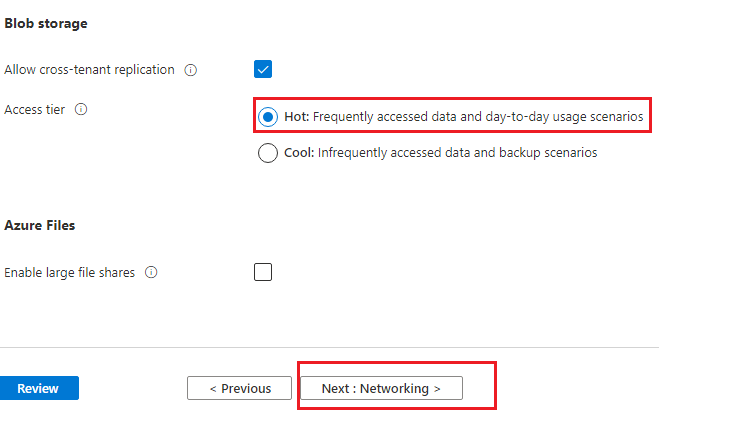
I) Click on "Next:Advanced>", and scroll down to the Blob storage section.
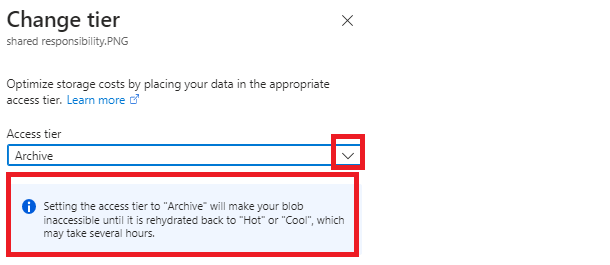
j)On the Access tier click on "hot" to frequently access your data at any time.
(Please note that there are three types of Access tiers available: Hot, Cool, and Archive. When creating a storage account, only the Hot and Cool tiers can be seen. However, we will demonstrate how to switch to the Archive tier once the blob storage has been created.)
k) Click on Next: Networking> to configure your networking
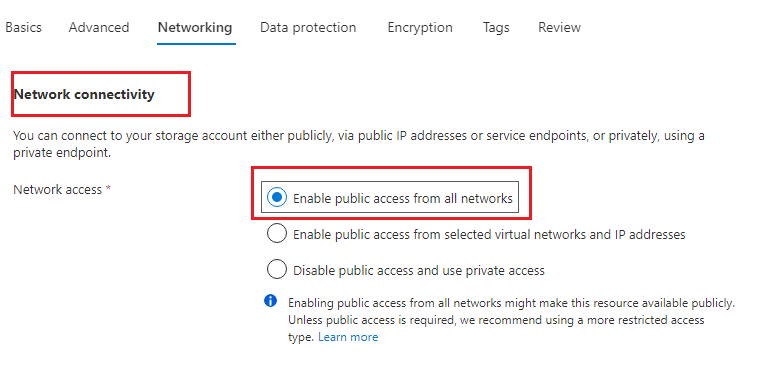
L)On the Networking page, go to "Network connectivity" and enable public access from all networks.
When enabled, the URL of the storage can be accessed over the internet. If it is disabled, it becomes private and accessible to you alone.
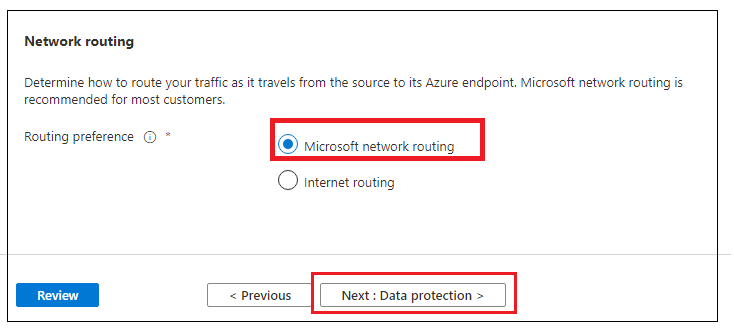
M) Scroll down to Network routing and leave the preference in the default state "Microsoft network routing"
N) Click on Next: Data protection>
O) On the Data protection page, leave it in its default state. The purpose of this page is to retrieve your deleted storage within a minimum retention period of 7 days.

P) Skip the other settings and go to Review.
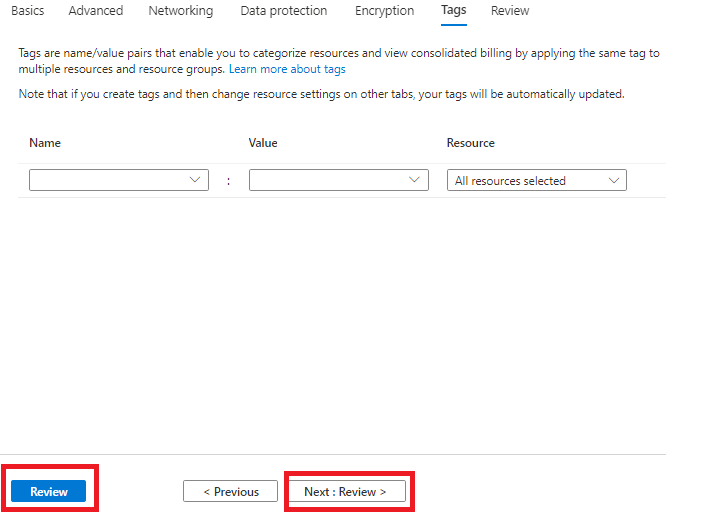
Q) On the Review page, you can see a summary of all that you've done. Click on "Create"

R) Once validation is passed, click on "Review +create"
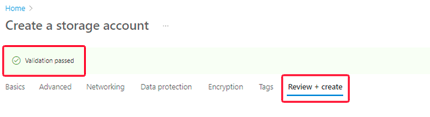
S)This will take you to the deployment page, once the deployment is complete, click on "Go to resource"
T) You will be directed to the storage account page.
3) Create Your Container
Now that we have our storage account ready, let's get inside to create our container.
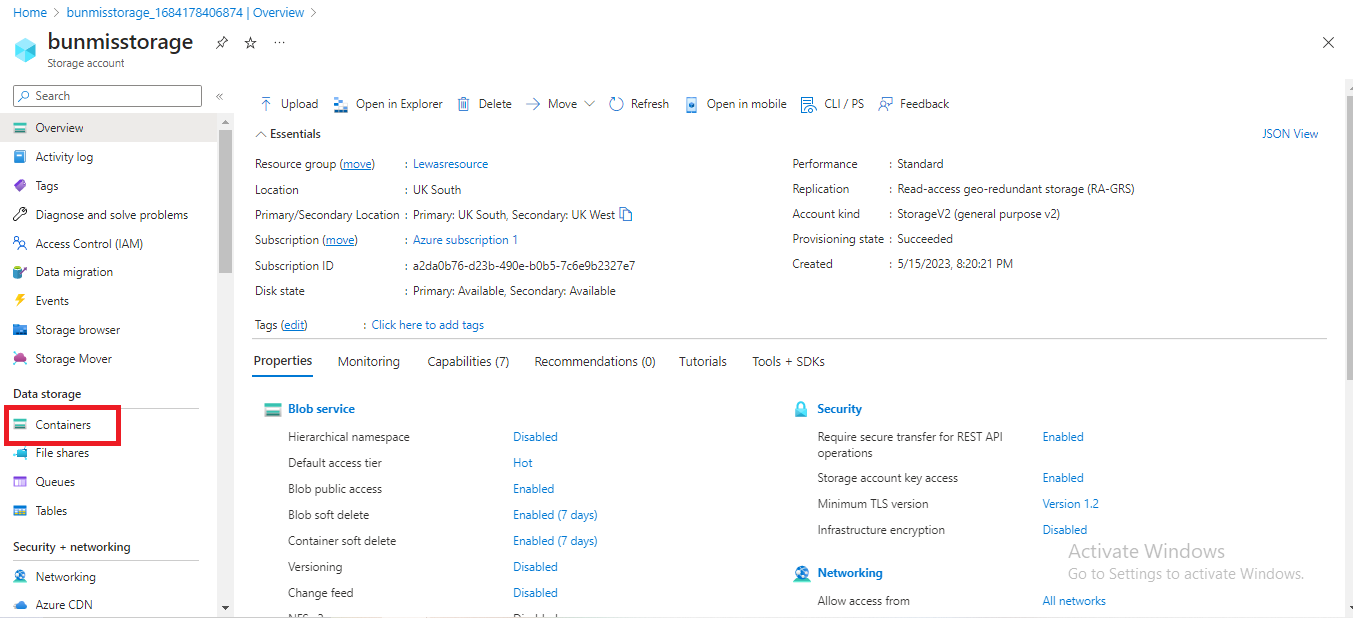
a) Click on your created storage account to have an overview.
b) Scroll to the left of your storage page, under data storage and click on "Container"
c) On your container page click on "+Container" to create your container
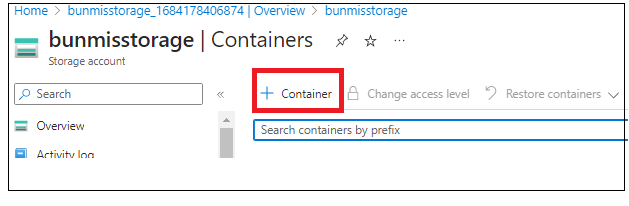
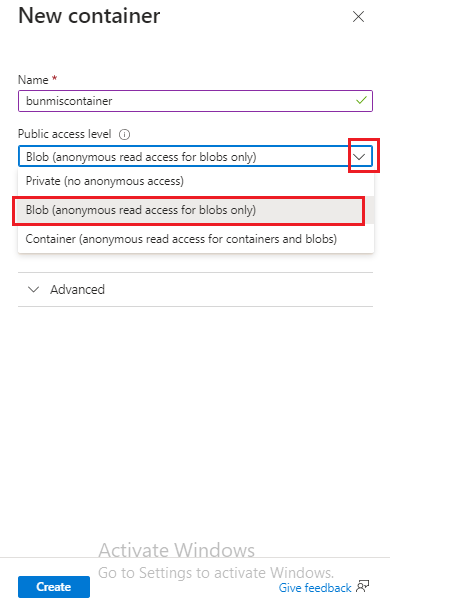
d) This will direct you to the page displayed below
di) Give your container a name.
dii) On the public access level, click on the dropdown and pick "Blob" to grant public access over the internet.
dii) Click on the "create" button
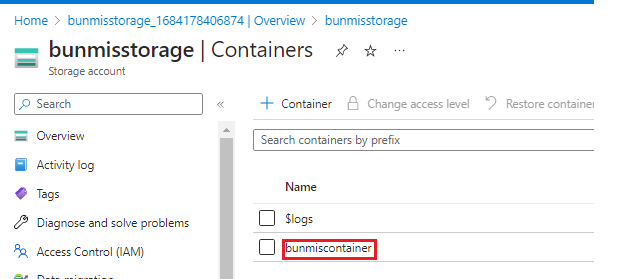
e) Your Container is created and should reflect as seen below. To proceeds click on your container.
f) Click on the upload button to upload a document or picture (Unstructured data).

G)Click on "Browse for files" or drag and drop your image
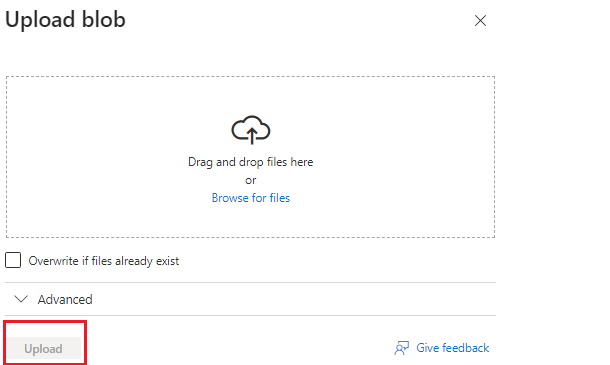
H) The above instruction will direct you to your folder on your desktop, select an image of your choice and open it to upload.
I) Your image will upload as shown below in your container.
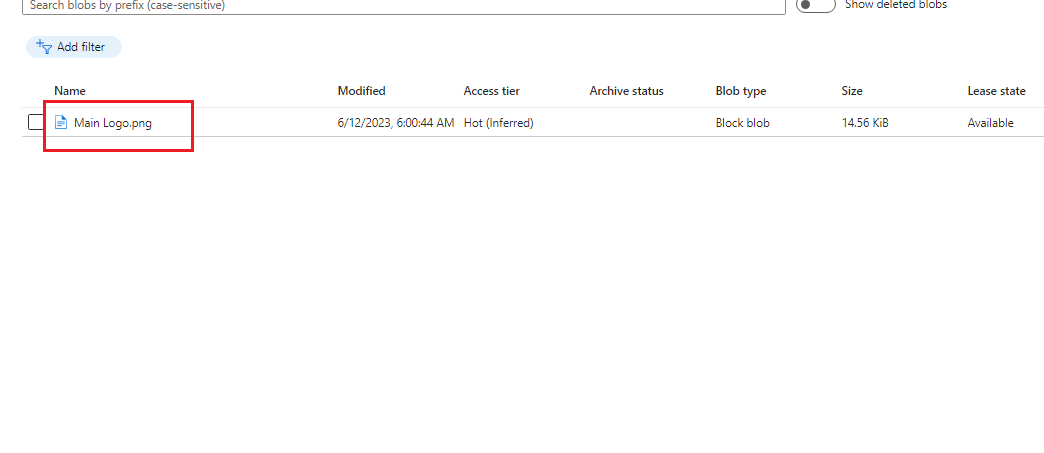
j) Once you click on the Uploaded blob, copy the URL.
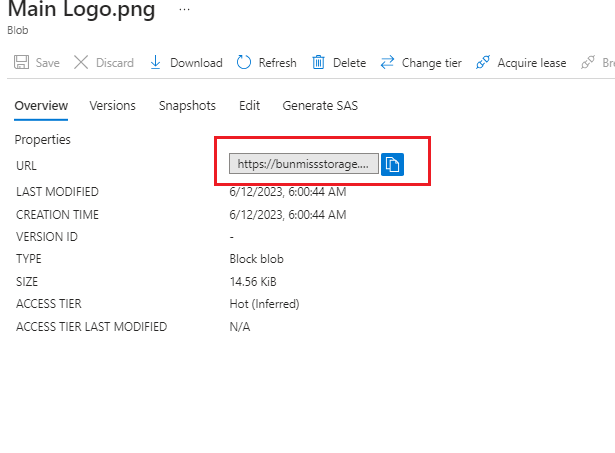
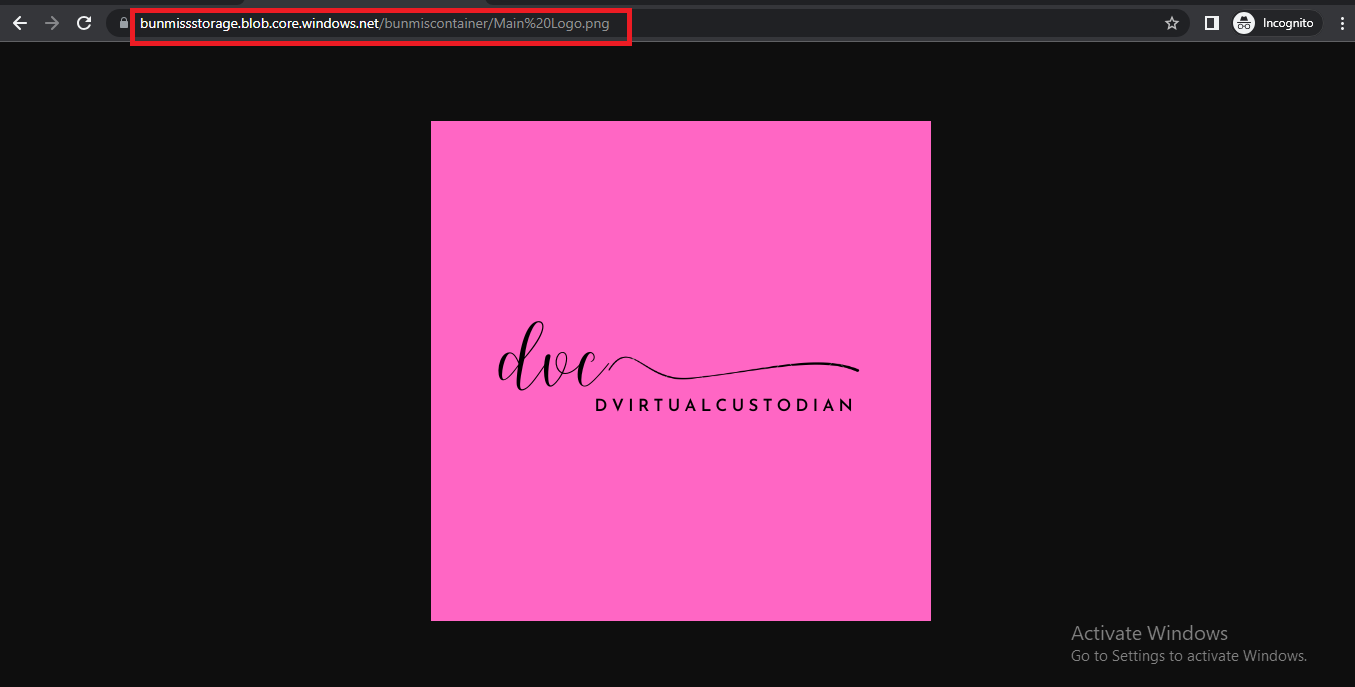
k)Paste the URL on your web browser to publicly gain access to the document
Types of Access Tier
Azure storage offers different access tiers so that you can store your blob data in the most cost-effective manner based on how it's being used**.** Imagine you have a car garage where you store your vehicles. In this garage, you have different areas to park and store your cars, each representing a different access tier.
I will be explaining the three types of Access Tier using a car garage scenario.
Hot Access Tier
Think of the main parking space right near the garage door. This is where you park your everyday car, the one you use frequently. It's easily accessible, and you can quickly get in and out whenever you need it. This represents the hot access tier in Azure Storage, where you store files and data that you frequently use and need immediate access to.
How to Change Access Tier
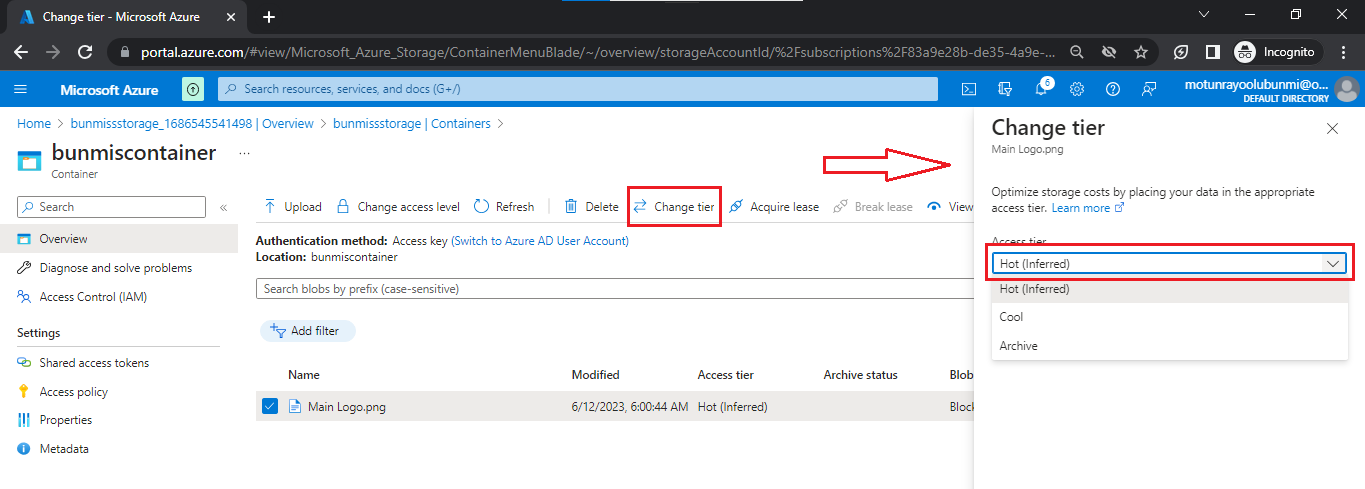
a)To change your access tier, stay on the blob page and click on "change tier".
b)The Change tier page will appear at the right side of the container
c) Click on the drop-down to change your access tier to your preferred tier as shown in the screenshot below. This step applies to change all access tiers.
Cool Access Tier
Now, imagine a covered area inside the garage where you park your classic car or a vehicle you don't use as often. It's still protected, but it's not right in front for immediate access. You might need to move a few things to get to it. This represents the cool access tier in Azure Storage, where you store files and data that you don't use as frequently but still want to keep securely and access relatively easily.
The benefit of using the cool access tier is that it is more affordable than the "hot access tier" where you store the things you need more frequently. Data in the cool tier should be stored for a minimum of 30 days. .

Archive Access Tier
Finally, picture a separate storage area within the garage, like a locked room. This is where you keep your vintage car or a car that you don't need to use for a very long time, but you want to preserve it for the future. It's not readily accessible, and you would need to go through extra steps to retrieve it, such as unlocking the room or moving other items.
This represents the archive access tier in Azure Storage, where you store files and data that you rarely need to access but want to keep for long-term preservation. Data in the archive tier should be stored for a minimum of 180 days and has the lowest storage cost.