

In this blog post, we will learn how to create an automated workflow that integrates two services, an RSS feed for New York Times website and an email account.
Before we begin let's take a quick look at Serverless in Azure, Azure Function App Vs. Logic App, RSS Connector and RSS Feed.
What is Serverless in Azure
Azure Documentation explains that serverless computing enables developers to build applications faster by eliminating the need for them to manage infrastructure.
Serverless computing enables cloud developers to shift their focus towards writing and executing code, relieving them from the responsibility of managing the underlying infrastructure.
Please Note: Servers are still running the code. The serverless name comes from the fact that the tasks associated with infrastructure provisioning and management are invisible to the developer.
What's the Difference Between Logic App and Azure functions
Azure Function: Azure Functions is a serverless compute service that allows you to execute small code snippets or functions in response to various triggers or events, such as HTTP requests, timers, messages from queues, events from event hubs, and more.
You write your code and Azure takes care of scaling and managing the infrastructure required to run your functions.
Logic Apps: Azure Logic Apps are serverless workflow orchestration tools. They enable you to create and automate business processes and workflows by connecting various services, systems, and applications.
Logic Apps provide a visual designer to build workflows using a wide range of connectors and actions, allowing you to focus on defining the logic and integration without worrying about the infrastructure.
RSS Connector
RSS stands for "Really Simple Syndication." It's a technology that allows websites to distribute their content in a standardized format. An RSS connector acts as a link between the website and you, the reader.
When you subscribe to an RSS feed of a website using an RSS connector, the connector keeps an eye on that website for you. It constantly checks for any updates or new content. When the website publishes something new, the RSS connector immediately notifies you.
RSS Feed
An RSS feed is an online file that contains details about every piece of content a site has published. It's an easy way to stay up to date with your favorite websites, such as blogs or online magazines
Steps to Creating Consumption Logic App Workflow
In this demo workflow, we will use the RSS connector and the Microsoft Outlook connector.
The RSS connector provides a trigger that checks an RSS feed, based on the specified schedule.
The Microsoft Outlook connector provides an action that sends an email for each new item.
Let's get started on this exciting experience!!
a) Log in to your Azure Portal
a) Search for Logic App. Once found, click on it.
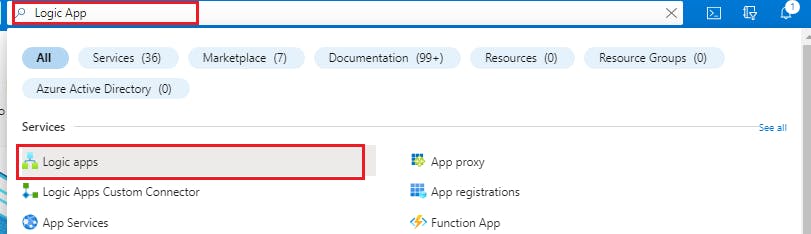
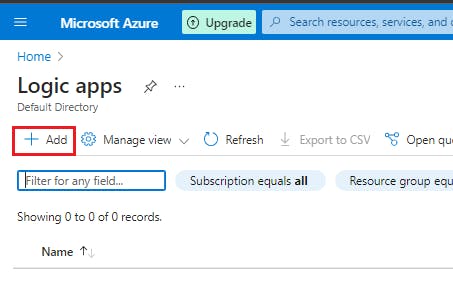
b)Click on the "Add" button on the Logic App page.
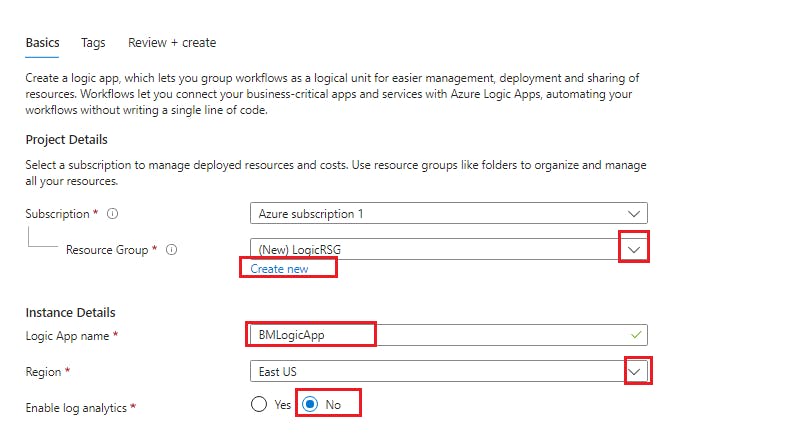
Project Details
a) On the Project Details section, select your subscription.
b) Select an existing resource group from the drop-down or create a new one by clicking on the "Create new" button
c) In the Instance Details Section, Give your Logic App a name
d) Select your Region from the drop-down
e) Ensure the "Enable log analytics" button is "No"
PLAN
a) Select the consumption Plan type.
This logic app resource type is the alternative selection and supports only a single workflow. This workflow runs in multi-tenant Azure Logic Apps and uses the Consumption billing model.
This means you only pay for the actual usage of the Logic Apps resources and services during their execution, making it a flexible and cost-effective option for your workflow needs.
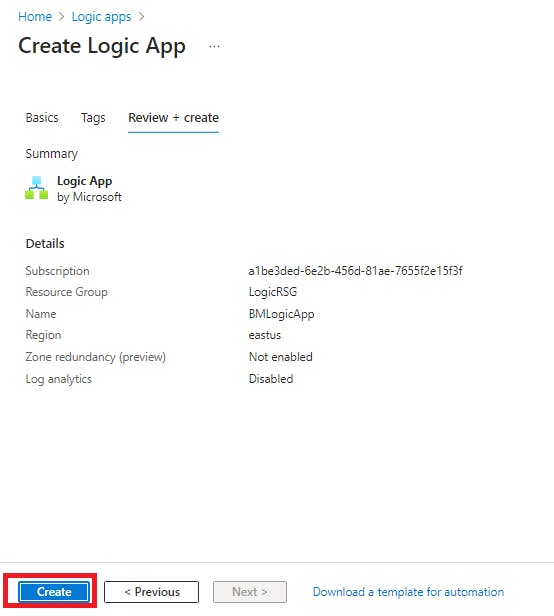
b) Disable the Zone redundancy and Click on the "Review+create" button

d) Click the "Create" Button
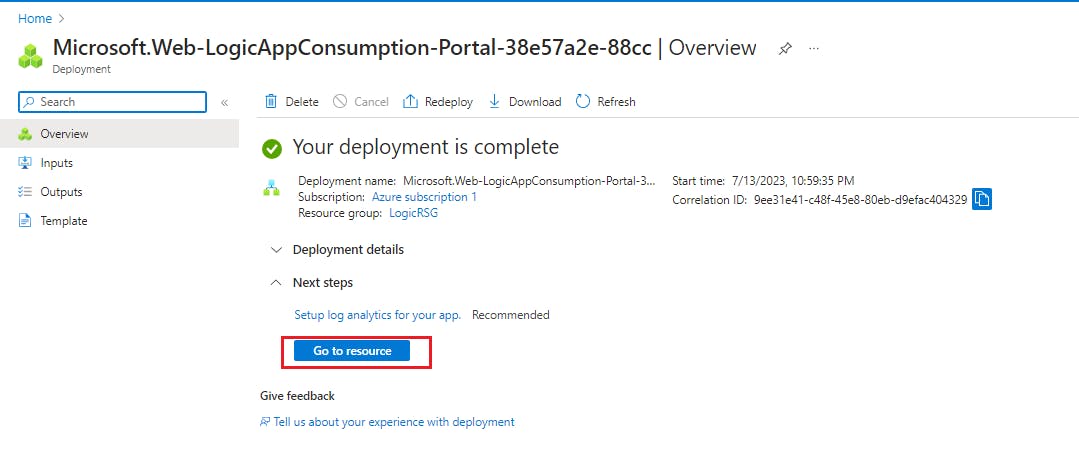
d) Once your deployment is complete, click "Go to resource"
e) Scroll down and click on the blank logic page as shown in the capture below

f) Click on "All" and search for "RSS" in the search bar
Add the Trigger
a) Go down to "Triggers" and click on "When a feed item is published"

Get an RSS URL
Before we proceed, go to your web browser and browse an active website. I went for the New York Times.
a)Right-click on the page and click on "view page source"
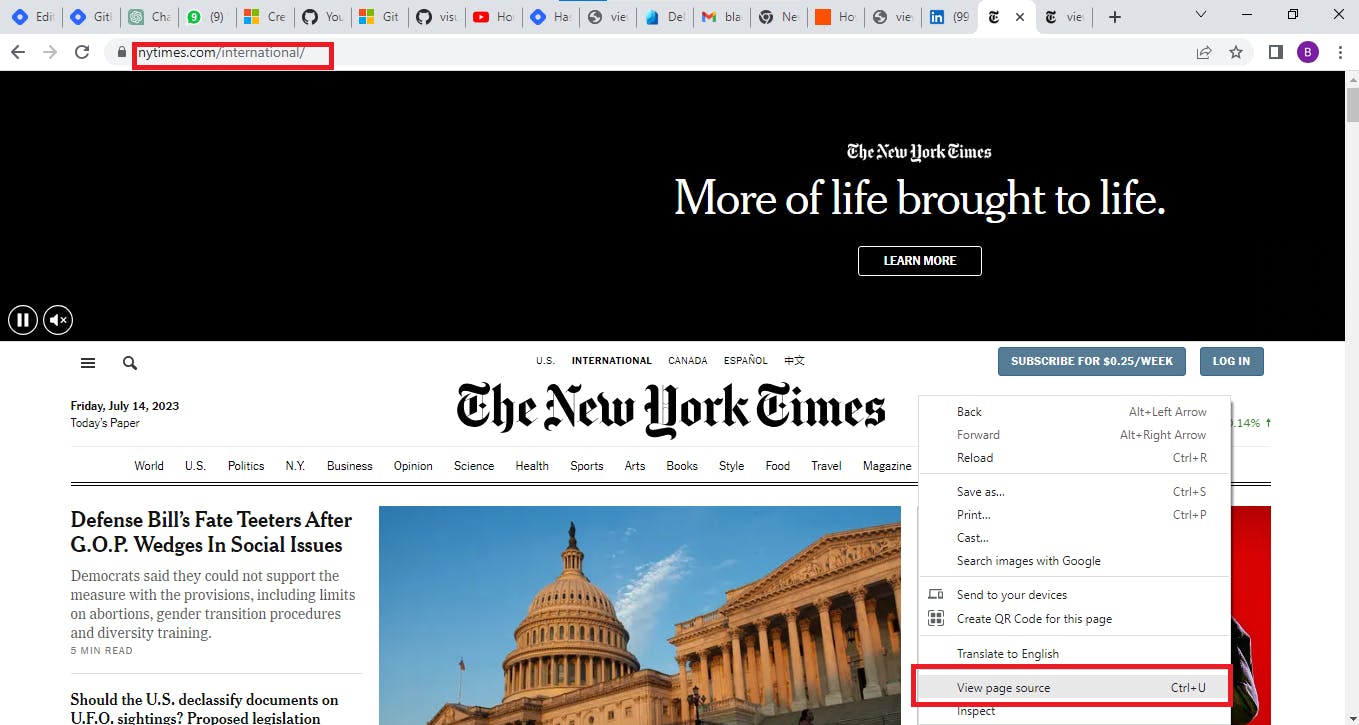
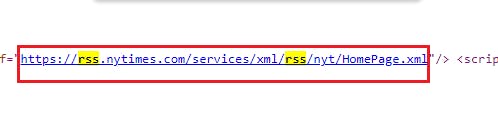
b) Once you are on the source page, press ctrl + F on your desktop to search for the rss URL.
c) Highlight rss and press enter

d) Copy the rss feed URL
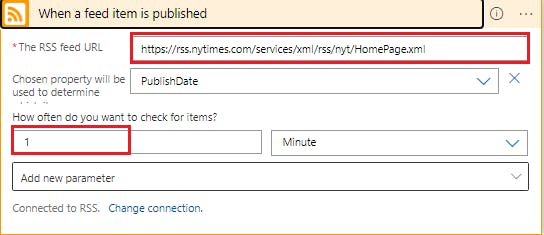
a) Paste it in the space provided for the RSS feed URL
f) Input 1 minute for how often you want to check for items
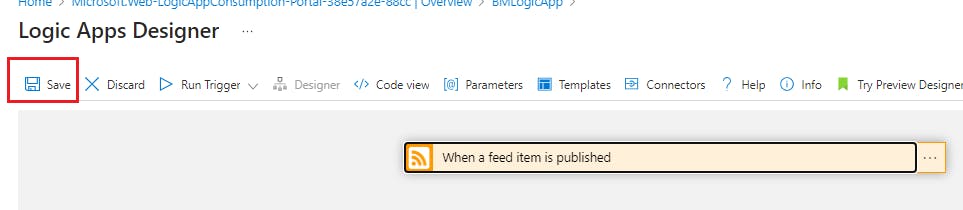
To close the page, double-click on the When a feed item is published

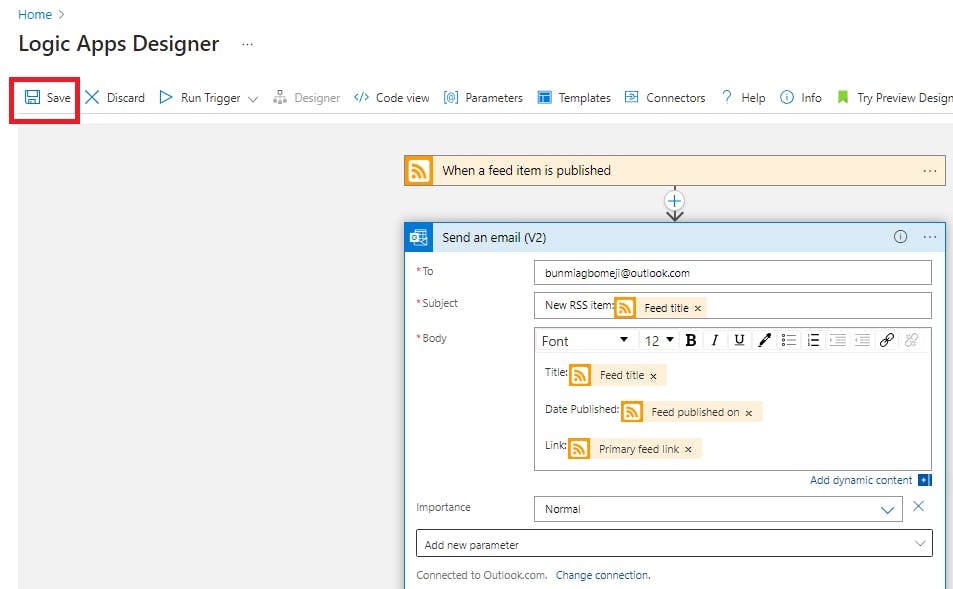
Click the save button to save design
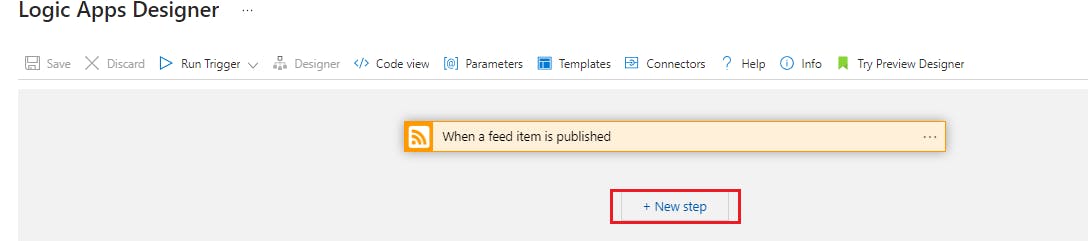
Add An Action
a) The next stage is to click on "+ New step" to add an action.
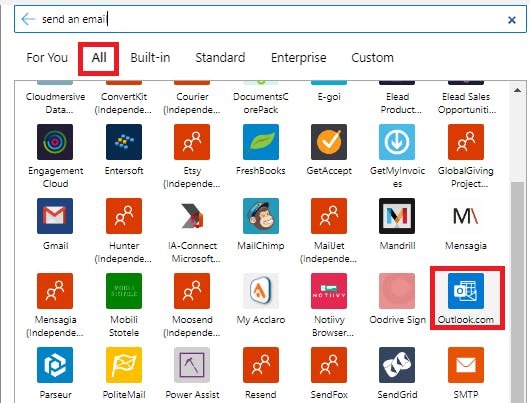
b) Click on "All" and type "Send an email"
c) Scroll down and select "Outlook.com". I chose to use my Outlook account.
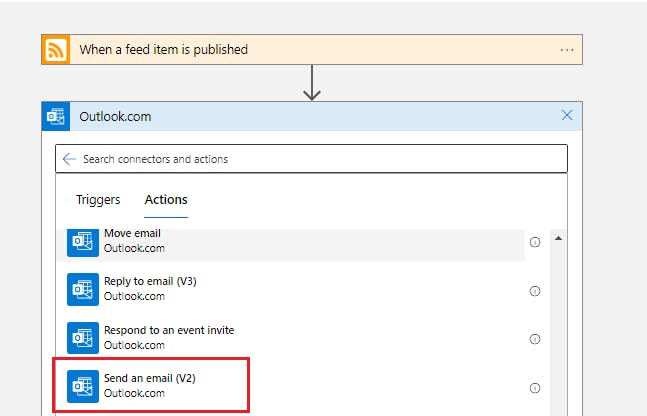
d) Once you've selected outlook.com as your preferred mail, Scroll down and select "Send an email(V2)"
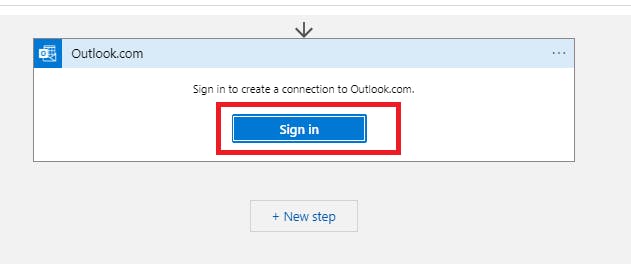
e) Click the sign in button to sign in to your Outlook account.
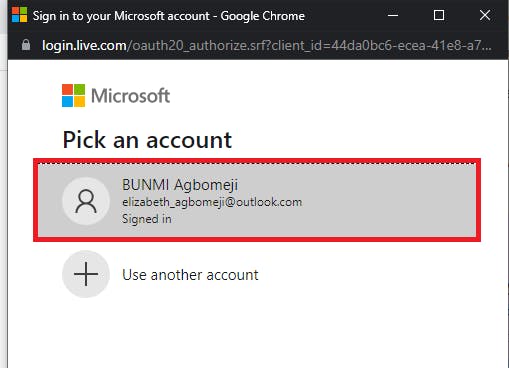
f) Select your mail
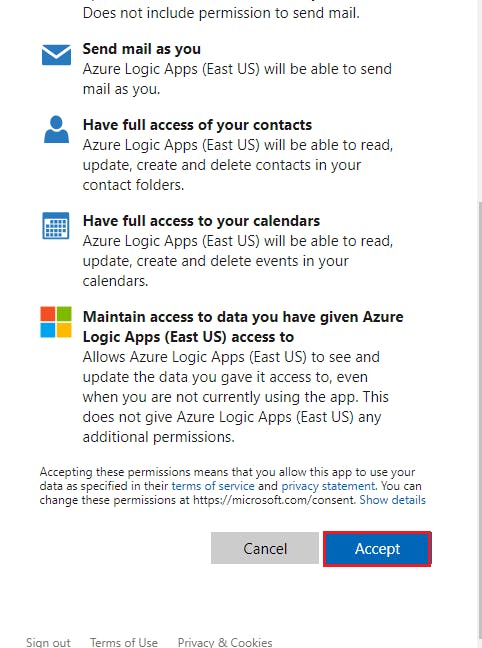
g) Then scroll down to "Accept" permission settings
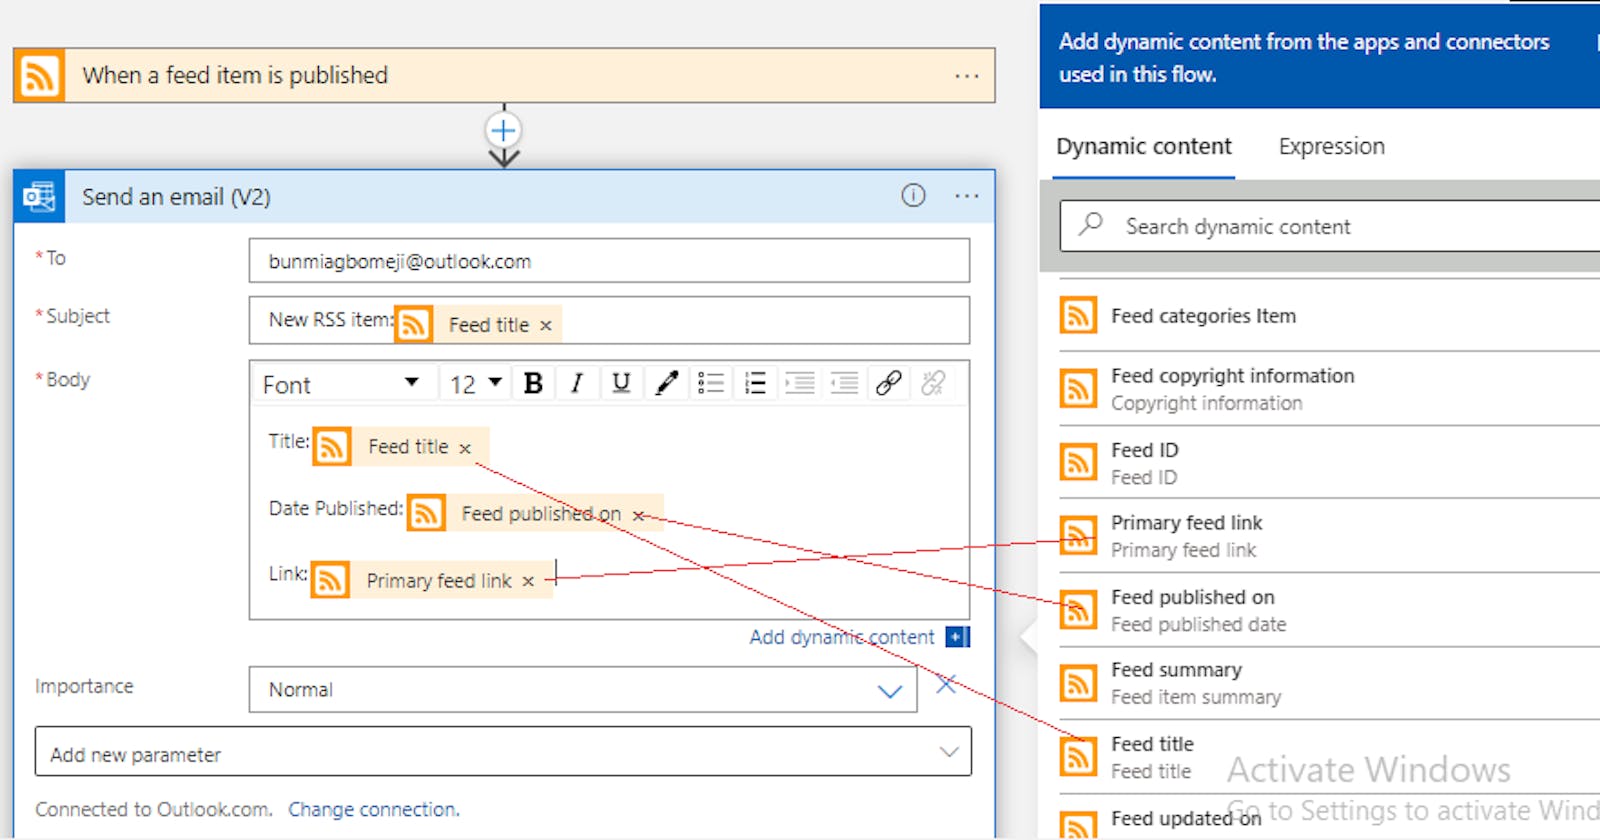
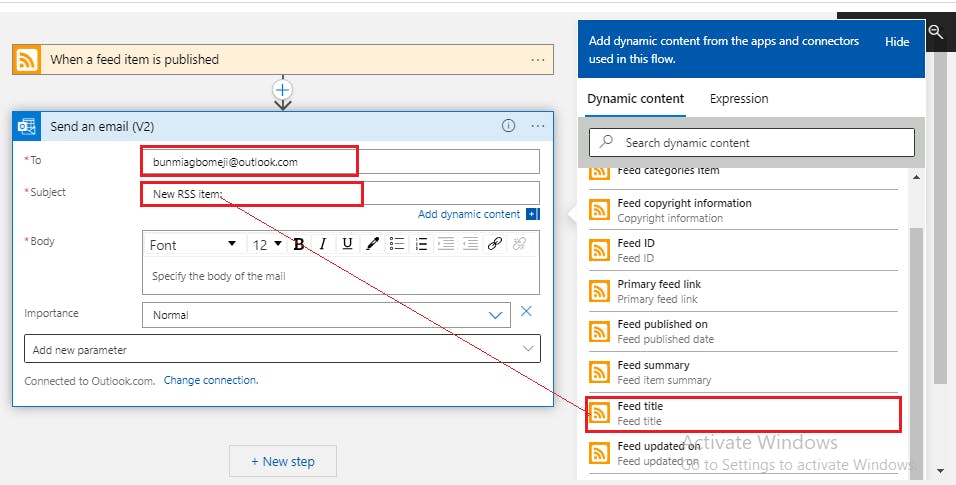
h) To send our mail, input the mail you want the RSS feed delivered.
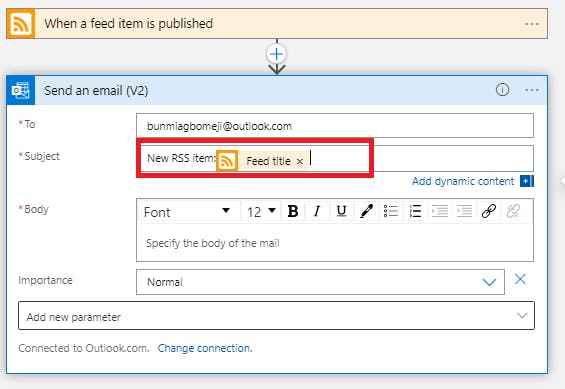
i) Make the Subject "New RSS item:" and add the "feed title" content
j) Here is how it should look as captured below
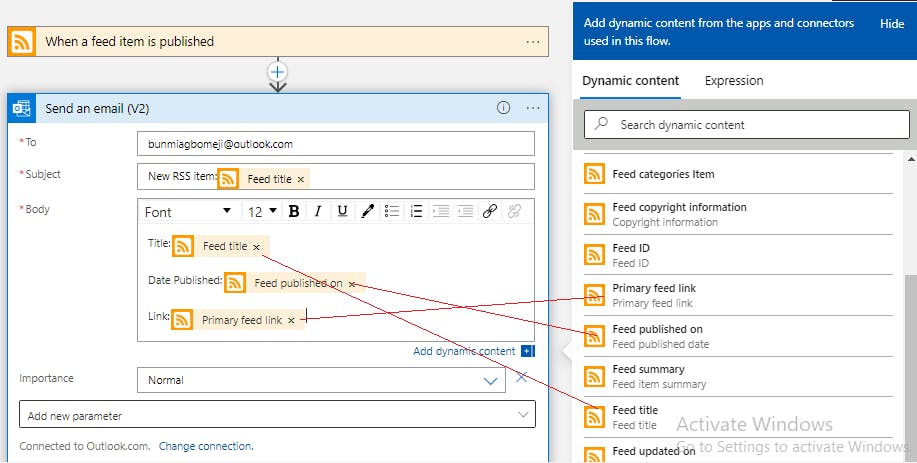
k)In the Body of the email
i) Type "Title:" select the Feed title as the dynamic content,
ii) Type "Date Published" and select "Feed Published on"
iii) Type "Link" and select "Primary feed link"
l) Once you are done, click the save button
Run your workflow
a) Click on the "Run Trigger" and click on "Run"

b) If the RSS feed has new items, your workflow sends an email for each new item.

c) The following screenshots show a sample email that was sent by the example workflow to my email.
d) The email includes the details from each trigger output that we selected.


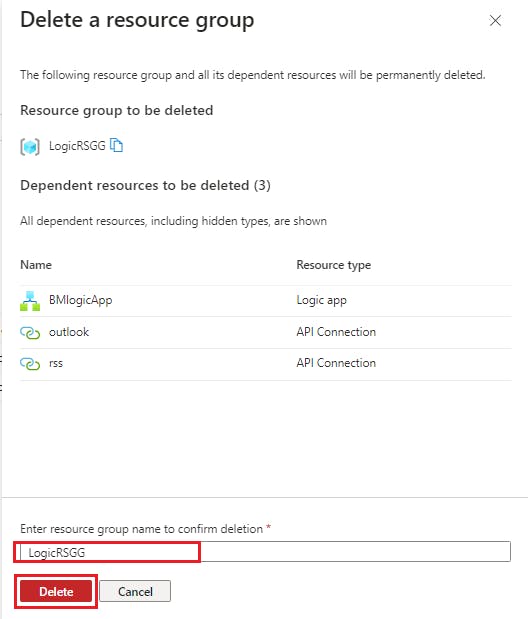
Delete Your Resource
a) Once you're done, search for resource group on the Azure portal and select your Logic App resource group.
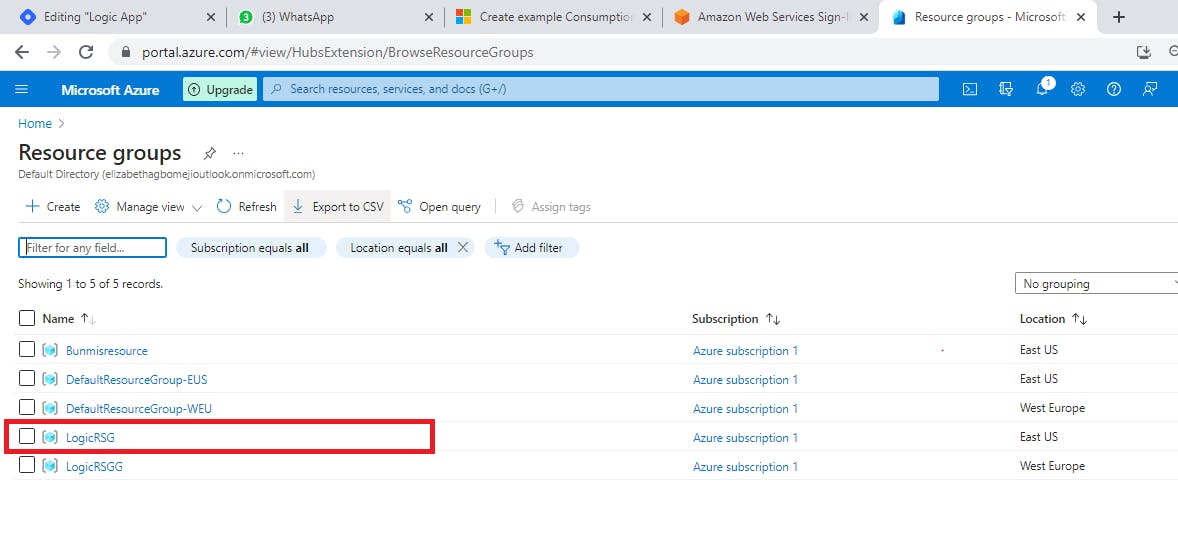
b) Click on the delete resource group button

c) Input your resource group name and click on the "Delete" button to delete your resource group.