Azure documentation defined Azure Compute Gallery as a service that simplifies the sharing of custom VM images and application packages with others in your organization, within or across regions, within a tenant. Choose what you want to share, which regions you want to make them available in, and who you want to share them with. You can create multiple galleries so that you can logically group resources.
Take for instance, you need a computer to do your schoolwork or play games, but it is not available for use. Azure Compute Gallery is like a collection of different computer setups that you can choose from. Each setup comes with a specific operating system and pre-installed software.
Rather than beginning from scratch and setting up a computer yourself, you can pick a pre-configured virtual computer from the Compute Gallery ready to be used. So, Azure Compute Gallery is an amazing feature that lets you quickly access virtual computers in the cloud, already set up with software, making your work seamless.
In this article, I delved into some important components of the Azure Compute gallery such as the types of custom Images, sharing options, access control (IAM) and locks. Let's go ahead and create our compute gallery.
Overview
1.Create Your Azure Compute Gallery
2.Types of Custom Images
3.Sharing options
4.Access control (IAM)
5. Locks
1.Create Your Azure Compute Gallery
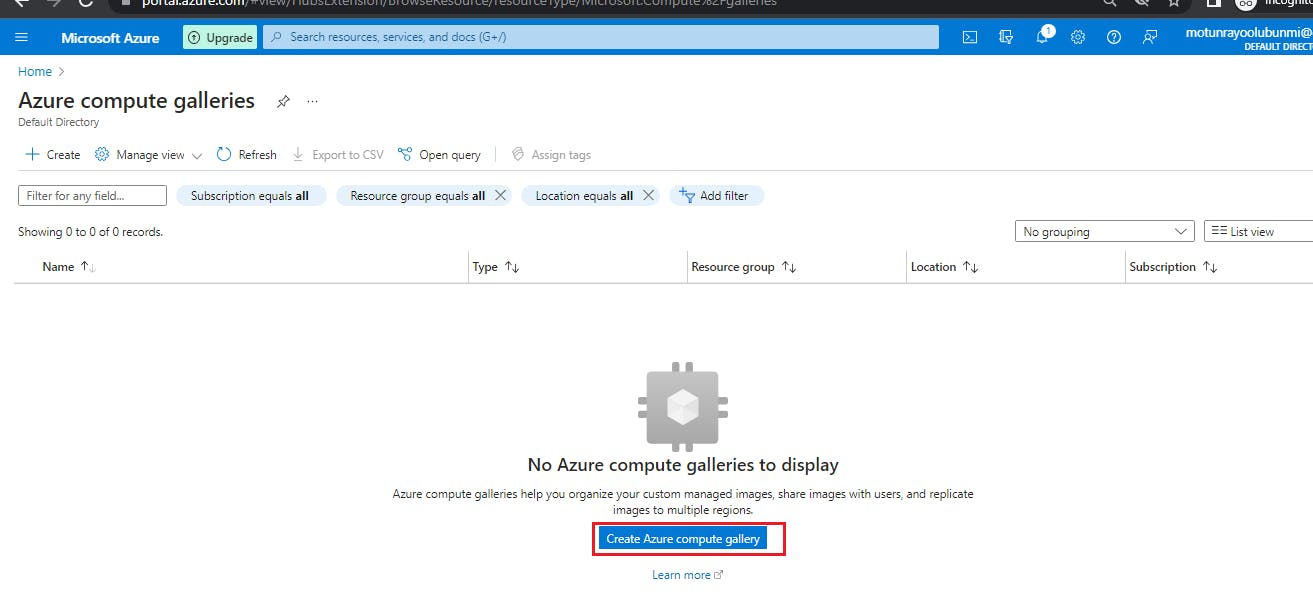
a) Login to the Azure portal and search for the Azure compute gallery in the search bar.
b) Once found, click on the "Create" button
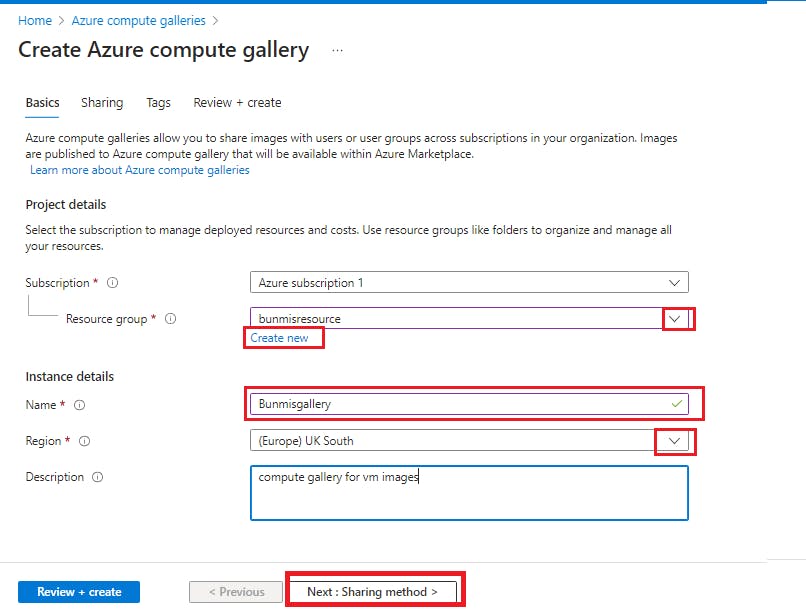
c) On the project details section, select your subscription
d) create your resource group by clicking on "Create new" or selecting your resource group from the drop-down
e) On the instance details sections, give your gallery a name, select your region and give it a description
Note: Ensure your Compute is in the same region as the virtual machine you want to capture.
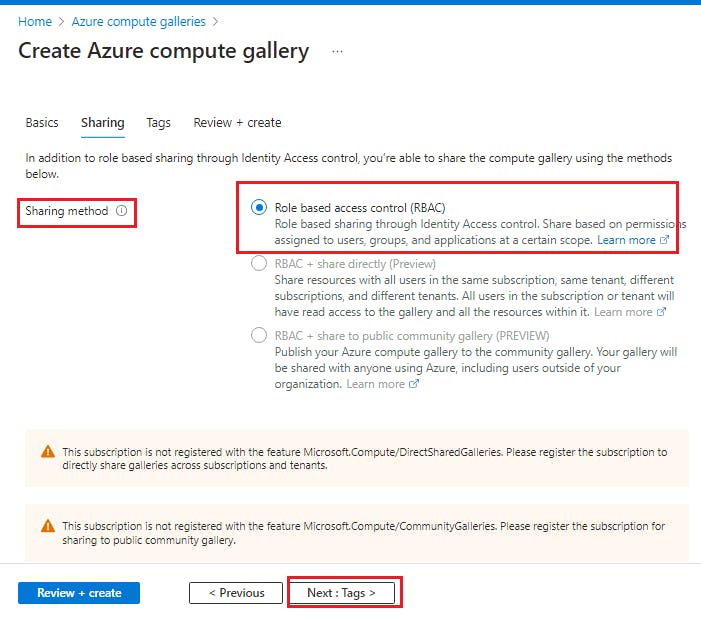
d)Click on the "Sharing method" button
e) On the sharing page, choose your preferred sharing method
f) Click on "Tag" to go to the next page.
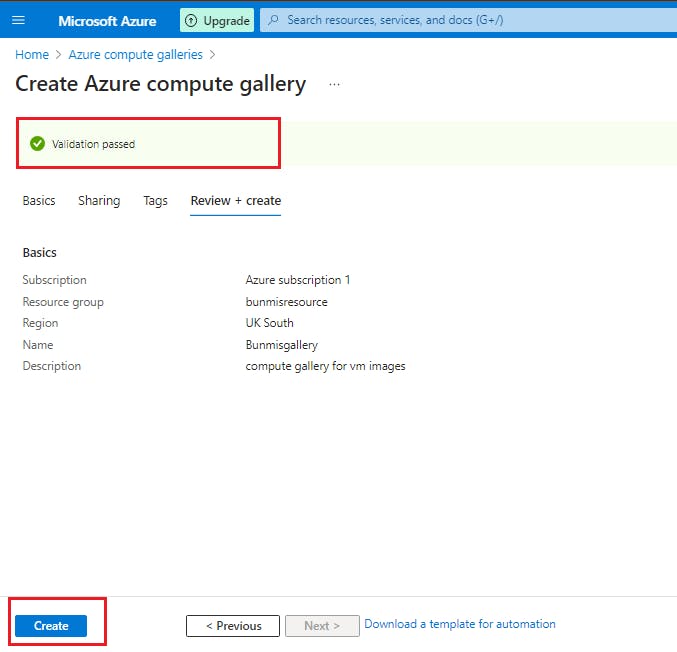
g) Click on Create + review
h) Once validation is passed, click on the "Create" button
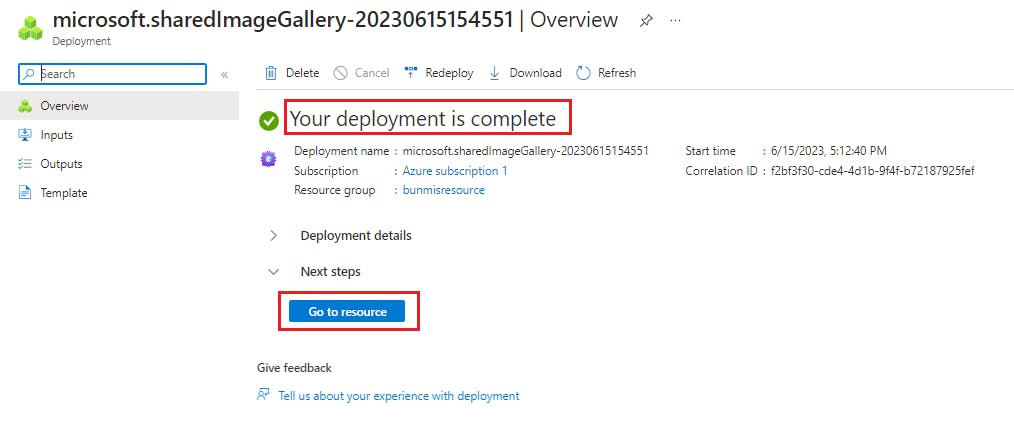
i) Once the deployment is complete, click on "Go to resource"
Let's take a quick look at some of the important components of the Azure compute gallery
2.Types of Custom Images
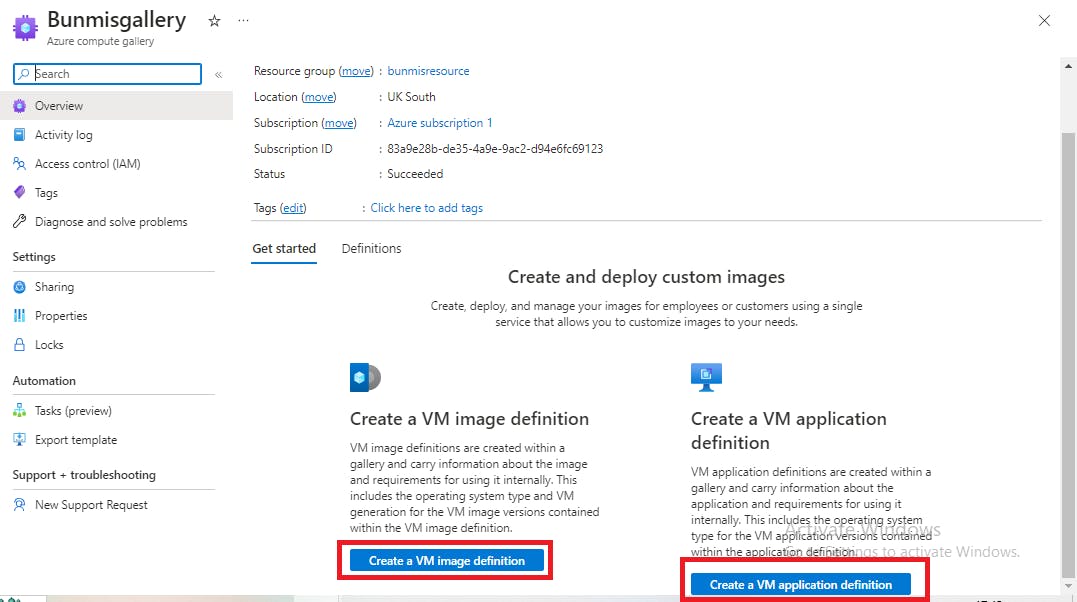
On the gallery overview, you can scroll down to create a virtual machine image definition or a virtual machine application definition.
The major difference between a VM Image Definition and VM Application Definition lies in their purpose and scope.
VM Image Definition focuses on defining the configuration of a virtual machine itself, while VM Application Definition focuses on packaging and deploying applications on virtual machines.
VM Image Definition provides a reusable template for creating virtual machines with consistent configurations, while VM Application Definition focuses on deploying and managing specific applications on virtual machines.
3.Access control (IAM)
The access control grants a root user the ability to assign roles to either a member of an organization or an individual to do a specific job function role with the compute gallery. As an administrator and root user of the account, you can also deny role assignments by reviewing the level of access a user, group or managed identity has to this resource.
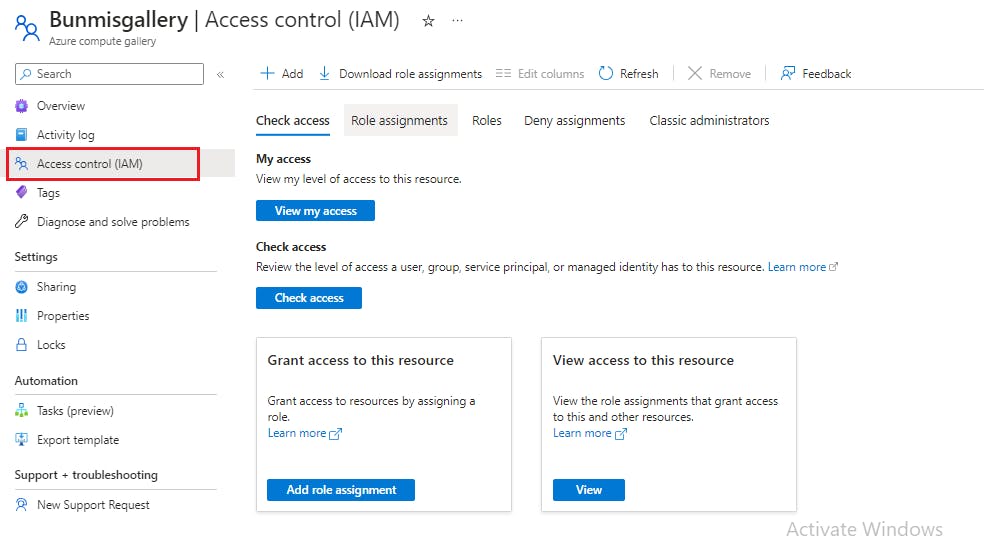
4.Sharing Options
In addition to role-based sharing through identity Access control, you can share the compute gallery using the;
(RBAC) Role Based Access Control
This is a role-based sharing through Identity Access control. Access is shared based on permissions assigned to users, groups, and applications at a certain scope.
RBAC + Share Directly (Preview)
Resources are shared with all users in the same subscription, same tenant, different subscriptions, and different tenants. All users in the subscription or tenant will have read access to the gallery and all the resources within it.
RBAC + share to public community gallery (Preview)
This option publishes your Azure compute gallery to the community gallery. Your gallery will be shared with anyone using Azure, including users outside of your organization.
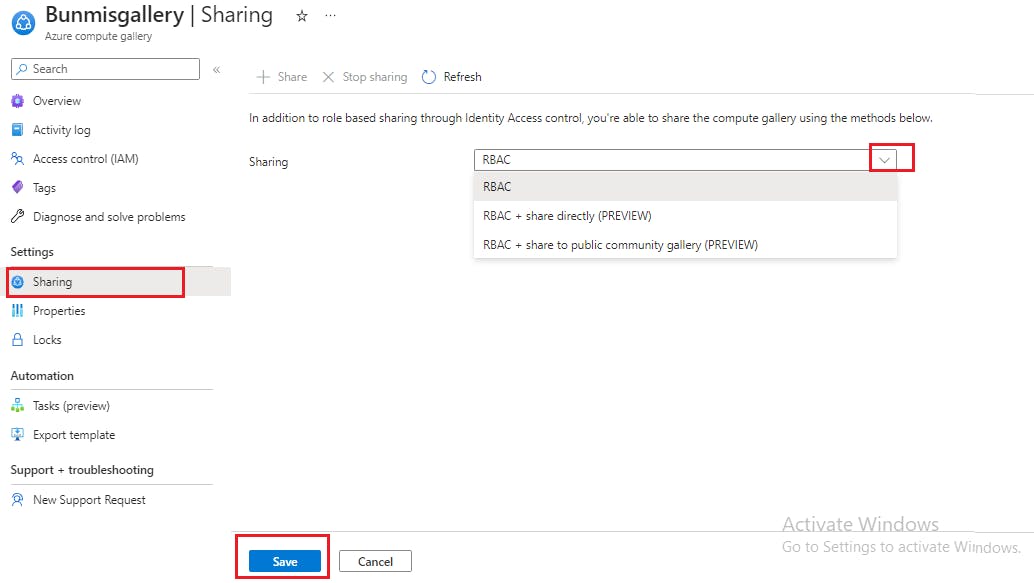
5.Locks
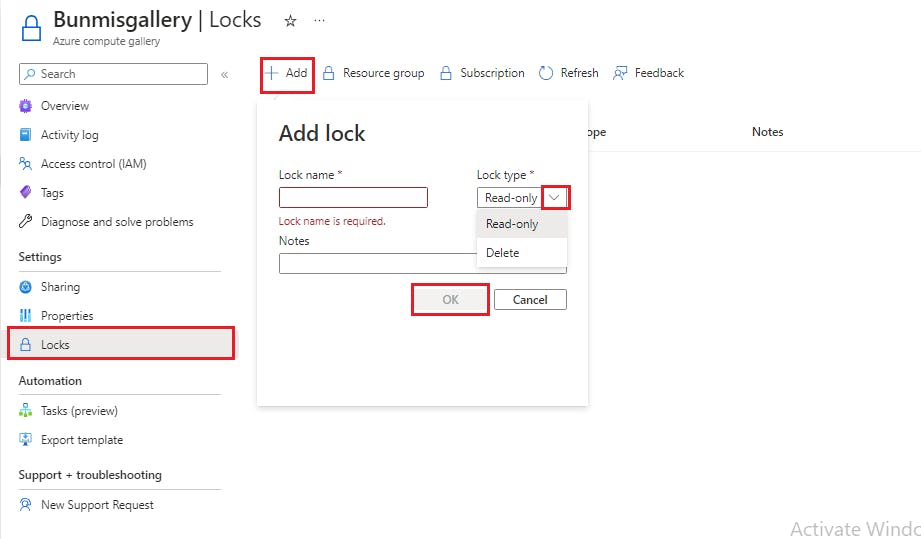
As an administrator, you can lock your compute gallery or any resources to protect them from accidental user deletions and modifications. The lock overrides any user permissions. There are two types of lock
a) Read Only
This means authorized users can only read a resource, but they can't delete or update it. This is similar to applying a reader role to a user in Azure.
b) Delete
This means authorized users can read and modify a resource, but they can't delete it. This protects the compute gallery from accidental deletion.
